
Clare Kelly visits Arts & Laughs in Maidenhead and learns how to make a children’s drum lampshade with designer Julie Gardner of Gilhoolie (who is listed in our directory here). Julie makes the most beautiful lampshades to sell (like this embroidered beauty…)

Check out her online shop here and also offers lampshade making and embroidery workshops.

Key things to consider before we start
A drum lampshade can be created in just a couple of hours using PVC sheeting, fabric, double-sided tape, and metal rings.
• Lampshade making materials are readily available online through suppliers like Needcraft, making it accessible for home crafters to create bespoke designs.
• The construction process involves applying PVC to ironed fabric, trimming with a rotary cutter, and rolling the material simultaneously onto top and bottom rings covered in double-sided tape.
• A double-sided rolled edge tool with a serrated side is essential for tucking fabric underneath the rings to achieve a professional, neat finish.
• The positioning of the rings differs depending on whether the shade is designed for a table lamp or ceiling pendant.
On with the workshop
If you find shop-bought lampshades a little bland and uninspiring, then why not consider making your own? It’s not a tricky as you might imagine, and in just a couple of hours on this inspiring workshop you can create a unique design that wouldn’t look out of place in a designer lighting boutique.
Textile artist and lampshade-maker Julie Gardner of Gilhoolie creates striking handmade lampshades, and luckily for us, she has recently started teaching workshops for Arts & Laughs, a fun and sociable craft club based in Maidenhead, Berkshire.
Owner Sophie set up Arts & Laughs, feeling there was a need for a local craft venue for people who wanted to be creative, learn new skills, and most importantly laugh and eat cake… and believe me, that’s exactly what we did.
Firstly iron your fabric

Conversation flowed freely as we all set to work, each of us using very different styles of fabric. I chose to work with some vintage Magic Roundabout fabric, which in a previous life had been my sister’s bedroom curtains, now ready to be upcycled into a cute retro lampshade.
Apply PVC to your fabric
Ironing was done first and then the fun began. We had each been given a PVC sheet to form the body of our shade, and Julie showed us how to apply this to the fabric and trim off the excess using a rotary cutter (watch your fingers and don’t forget the cutting mat!).

Rotary Cutter Safety & Maintenance Checklist
| Safety Step | Why It Matters | Common Mistake |
| Always use a cutting mat | Protects work surface and blade | Cutting on cardboard dulls blade in 2-3 cuts |
| Cut away from your body | Blade slips cause deep cuts | Pulling toward yourself for “control” |
| Replace blade after 5 shades | Dull blades require excess pressure | Using blade until it won’t cut at all |
| Lock blade when not in use | Prevents accidental contact injuries | Setting it down unlocked “just for a second” |
| Use steady, even pressure | Creates clean cuts without fabric shifting | Pressing harder when blade feels dull |
Using the rotary cutter
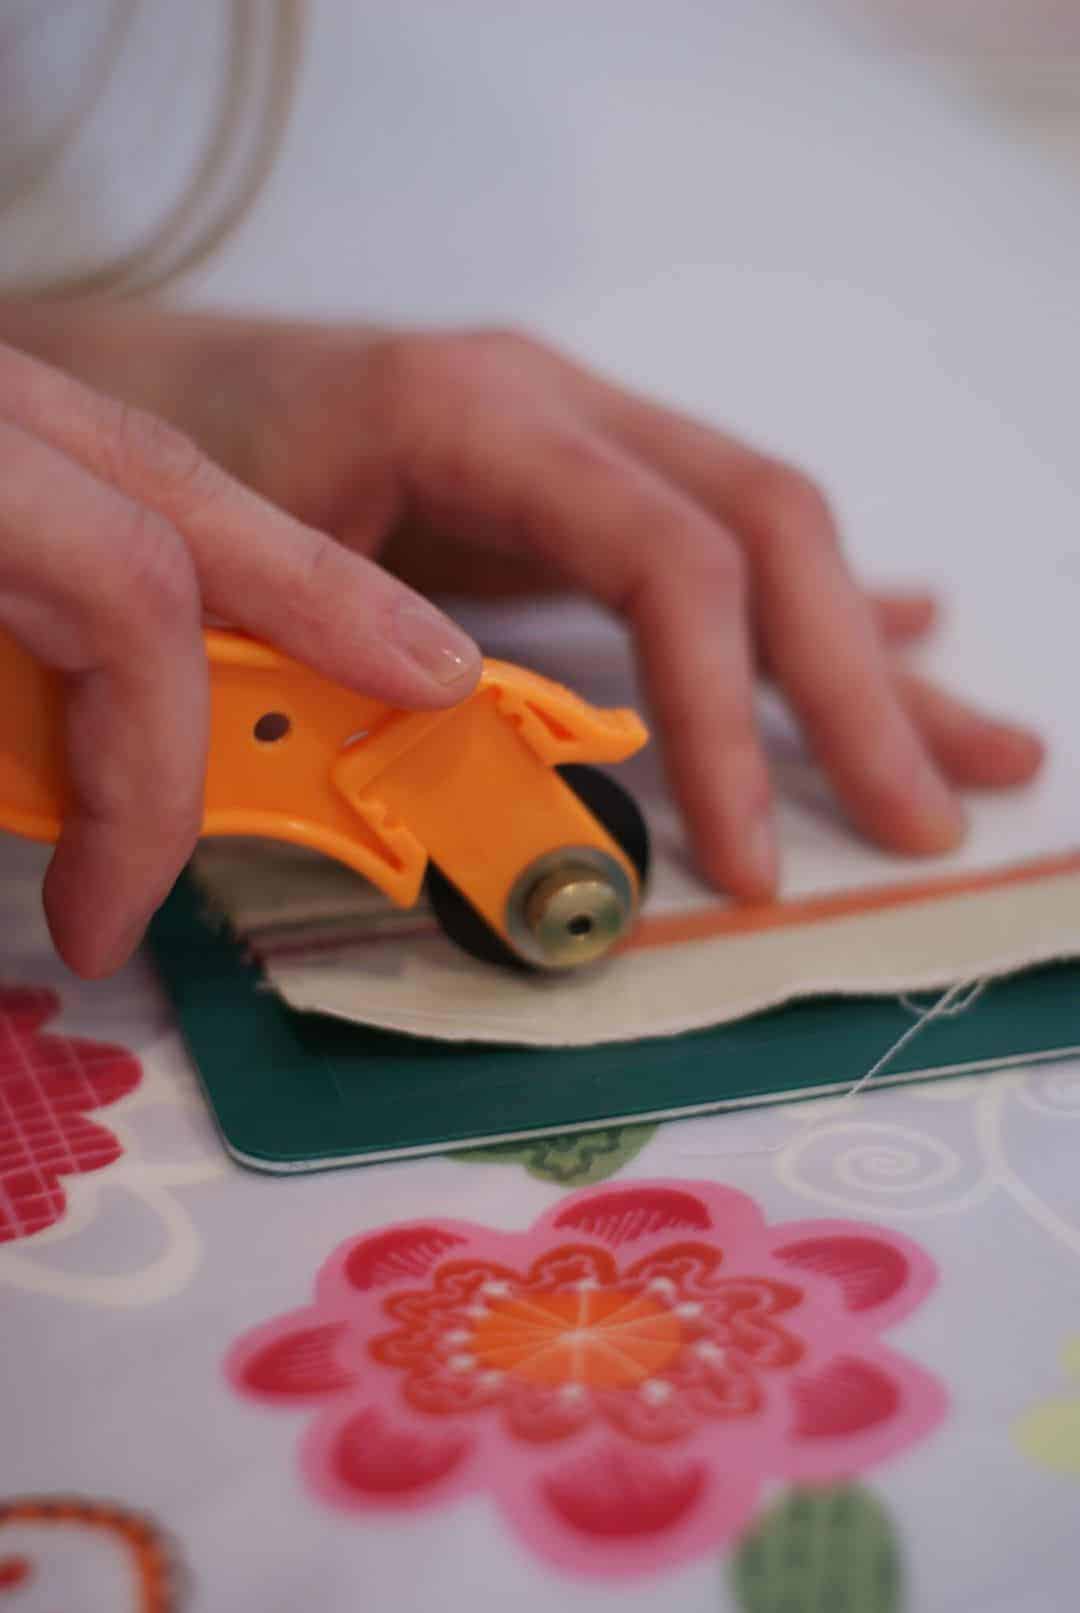
After cutting to size, most of the backing paper was removed, and a strip of double-sided tape was applied to the side seam for later on when we’d be rolling the shade to create the drum shape.
Julie explained that lampshade making materials can be easily purchased online at Needcraft, and she had no doubt that after the workshop we’d all be able to create our own bespoke lampshades back at home.

Attaching to the rings
To create the cylindrical shape of the shade, Julie provided us with rings for the top and bottom. These are covered in double sided tape and then rolled simultaneously along the top and bottom of the fabric. This sounds fiddlier than it actually is and if you take it slowly, you’ll be on course for the perfect drum-shaped shade in no time.

We had all chosen to make shades for table lamps which impacts on the positioning of the rings, so do bear this in mind if you’re planning on making your own shades at home. Once the drum shape is created, it really begins to look like something you’d buy in the shops.

The course itself is so relaxed with just five students with plenty of individual attention and expert tuition. Held in Sophie’s gorgeous home, tea and refreshments are generous and delicious. It would be rude not to give a special mention to Sophie’s homemade carrot cake. It was heavenly and we all enjoyed it with a cuppa in her pretty garden.
Double-Sided Tape Application Guide for Different Ring Sizes
| Ring Diameter | Tape Width Needed | Application Method |
| 15-20cm (small) | 6mm wide | Single continuous strip around ring |
| 20-30cm (medium) | 12mm wide | Overlap ends by 1cm for security |
| 30-40cm (large) | 12mm wide | Double layer for heavy fabrics |
| 40cm+ (extra large) | 19mm wide | Two strips side-by-side on ring |
Simultaneous Rolling Technique: Troubleshooting Common Problems
| Problem | Cause | Quick Fix |
| Fabric bunches on one side | Rolling rings at different speeds | Peel back and re-roll with partner holding opposite ring |
| Diagonal wrinkle across shade | Fabric wasn’t pulled taut before starting | Cannot fix once attached—must start over |
| Rings won’t stay parallel | Uneven pressure on top vs. bottom | Work on flat surface and rotate shade, not hands |
| Side seam doesn’t align | Initial fabric placement was crooked | Gently peel first 5cm and realign before fully adhered |
| Air bubbles under fabric | Rolling too quickly without smoothing | Pierce with pin and smooth—bubbles won’t show when lit |

 Create neat edges
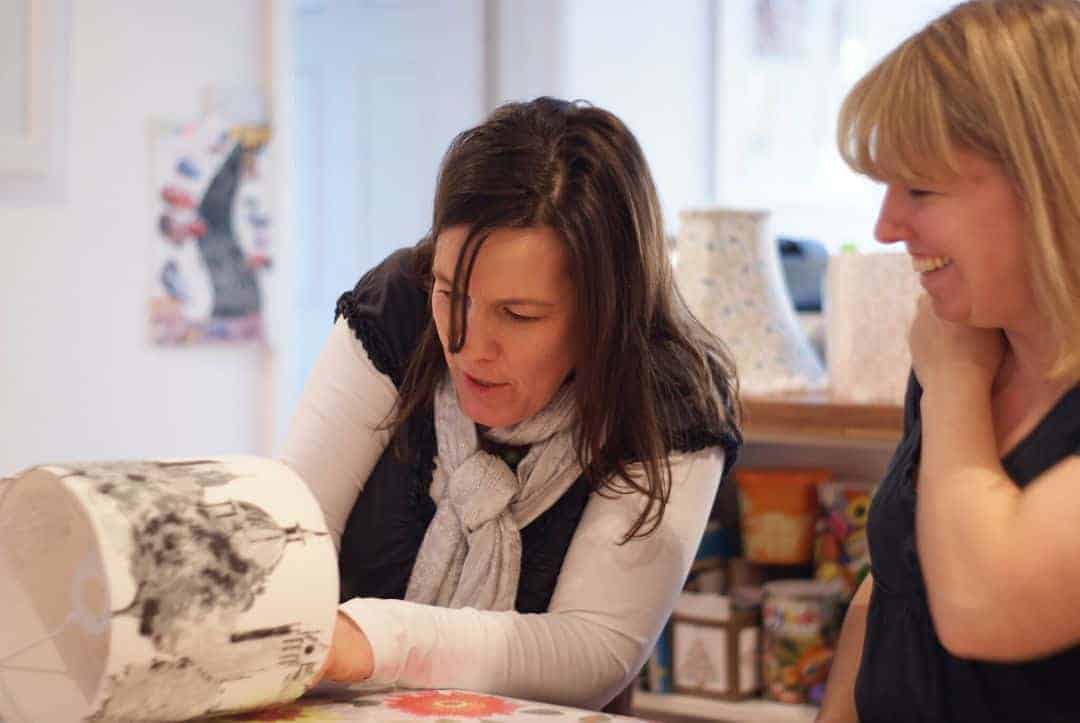
There was still some overhanging fabric to deal with and Julie showed us how to tuck this over the ring. The trick to getting a neat finish here is to use a double-sided rolled edge tool. The serrated side is used to tuck the fabric underneath the ring in order to create a neat edge. We used the pointed end quite rapidly to gather up the loose ends and create a really tidy finish.
It was only right that we should toast our newly created lampshades with more tea and cake!
Fabric Thickness Guide for Rolled Edge Tool Pressure
| Fabric Type | Tool Pressure | Passes Required |
| Fine cotton or silk | Light (60%) | 3 gentle passes |
| Standard quilting cotton | Medium (75%) | 2-3 moderate passes |
| Linen or canvas | Firm (90%) | 2 firm passes |
| Vintage curtain fabric | Full (100%) | 1-2 very firm passes |
| Synthetic blends | Light-Medium (65%) | 3-4 quick passes |
The Upcycling Secret: How Old Curtains and Vintage Fabrics Create Higher-Value Lampshades Than New Material
Most crafters assume new fabric creates better lampshades, but vintage and upcycled materials actually produce more distinctive, conversation-worthy pieces that command attention. The Magic Roundabout curtains mentioned in the workshop weren’t just sentimental—they represented a goldmine of design potential that modern fabrics can’t replicate.
Why Vintage Fabric Outperforms New Material:
• Pattern Exclusivity: Discontinued prints from the 1960s-1980s are impossible to find in current fabric stores, making your lampshade genuinely one-of-a-kind
• Fabric Weight Advantage: Older curtain fabrics were woven more densely than today’s lightweight materials, creating better light diffusion and structural integrity
• Cost Transformation: £5 charity shop curtains can yield 3-4 lampshades versus £15-25 per meter for new designer fabric
• Instant Ageing: Pre-worn fabrics have already gone through wash cycles, meaning they won’t shrink or distort after installation like brand new materials might
Best Sources for Upcyclable Lampshade Fabrics:
• Charity shop curtains (check seams for fabric quality)
• Vintage tablecloths with bold geometric or floral prints
• Retro bedding sets from the 1970s
• Discontinued sample books from interior design shops
• Car boot sales
INFORMATION
The Ring Positioning Formula That Professional Lampshade Makers Don’t Share
Where you place your rings determines whether your lampshade looks homemade or professionally crafted. Most tutorials skip this critical measurement step, but the positioning formula changes everything about how light distributes and how the shade sits on your lamp base.
The Table Lamp Ring Placement Rule:
For Standard Table Lamps (14-18″ tall bases):
• Top ring sits 1.5-2 inches below the fabric edge
• Bottom ring sits 0.5-1 inch above the fabric edge
• This creates a slight “lip” effect that hides the bulb from eye level when seated
For Bedside Lamps (10-12″ tall bases):
• Top ring sits 2-3 inches below fabric edge
• Bottom ring sits flush with fabric edge
• The extended top overhang prevents light glare when reading in bed
The Professional’s Light Distribution Secret:
Ring placement controls where light escapes. Moving the top ring down by just one inch redirects 30-40% more light downward onto your workspace or bedside table, rather than into the room. This single adjustment transforms a decorative shade into a functional task light.
Quick Position Test Before Committing:
Hold your fabric-covered PVC against your lamp base with the rings loosely positioned. Snap a photo with your phone’s flash behind the shade. The photo reveals exactly where light will pool and escape—adjust ring placement until the distribution looks balanced.
The Double-Sided Rolled Edge Tool Technique That Eliminates Puckering (That Everyone Gets Wrong)
The rolled edge tool seems straightforward until you use it incorrectly and create permanent puckers in your finished shade. Professional lampshade makers use a specific rhythm and pressure sequence that makes fabric tuck cleanly without bunching—and it’s completely opposite to what seems intuitive.
The Counter-Intuitive Tucking Method:
What Beginners Do Wrong:
They press hard and work slowly, trying to carefully tuck each section. This creates drag on the fabric, pulling it unevenly and causing permanent ripples and puckering that can’t be fixed.
What Professionals Do Instead:
They use rapid, light tapping motions with the serrated edge, working in 2-inch sections around the entire circumference BEFORE going back to secure anything firmly.
The Three-Pass System:
• Pass 1 – Light Tapping: Move rapidly around the entire shade with gentle taps, barely tucking the fabric edge (this pre-positions everything)
• Pass 2 – Medium Pressure: Circle around again with moderate pressure, pushing fabric halfway under the ring
• Pass 3 – Firm Setting: Final pass with firm pressure locks everything in place without puckering
The Pointed End Secret:
That pointed end isn’t for tucking—it’s for rescue work. If you spot a pucker forming, use the pointed end to gently lift and redistribute the fabric while it’s still loose. Once you’ve done your final firm pass, puckers become permanent.
Material-Specific Pressure Guide:
• Lightweight cotton: Use 60% pressure to avoid stretching
• Medium-weight linen: Use 80% pressure for clean tucks
• Heavyweight vintage fabric: Use 100% pressure; it can handle aggressive tucking
• Synthetic blends: Use 50% pressure; they’re slippery and over-tucking causes them to pop out
FAQs
Can I use any type of fabric for a drum lampshade or are there materials I should avoid?
Avoid fabrics that are too thin (like voile or organza) as they won’t provide enough structure, and stay away from heavily textured materials like thick velvet or bouclé that won’t adhere properly to the PVC backing. Medium-weight cotton, linen, and vintage curtain fabrics work best because they have enough body to hold their shape while still allowing light to pass through beautifully. Synthetic fabrics can work but tend to be slippery during construction and may require extra adhesive.
How do I calculate the exact size of fabric I need before cutting for my specific lamp base?
Measure the circumference of your chosen ring and add 3cm for the overlap seam, then measure the desired height of your shade and add 5cm total (2.5cm top and 2.5cm bottom) for the overhang that tucks under the rings. For example, a 30cm diameter ring has a 94cm circumference, so you’d need a piece of fabric 97cm wide by your desired height plus 5cm. Always cut your PVC backing to these exact dimensions first, then use it as a template for your fabric.
What’s the best way to store completed lampshades and how long will a handmade drum shade last?
Store finished shades upright in a cool, dry place away from direct sunlight, ideally wrapped loosely in acid-free tissue paper to prevent dust accumulation without crushing the fabric. A well-constructed drum lampshade using quality materials and proper technique should last 5-10 years depending on use. The fabric will fade over time if exposed to direct sunlight, and the adhesive on the PVC may eventually weaken in very hot environments, but most shades remain structurally sound for many years.
Is it possible to make a drum lampshade for a ceiling pendant rather than just table lamps?
Yes, but the ring positioning and internal structure change significantly for pendant shades because they hang downward rather than sit upright. Pendant shades require a gimbal fitting attachment or pendant ring holder that sits inside the top ring, and both rings should be positioned flush with the fabric edges (no overhang) to create clean lines when viewed from below. You’ll also need to ensure the shade is lightweight enough that it won’t sag or distort when suspended.
Can I wash or clean a finished drum lampshade if it gets dusty or marked?
Never submerge or machine wash a lampshade as the PVC backing and adhesive will separate from the fabric and destroy the structure. For regular dust, use a soft brush attachment on a vacuum cleaner set to low power, or wipe gently with a barely damp microfiber cloth. For stubborn marks on the fabric surface, spot-clean very carefully with a cotton bud dipped in diluted fabric cleaner, dabbing rather than rubbing, and ensure the shade is completely dry before use to prevent moisture damage to the adhesive.
5 most important points to remember
#1 The rolled edge tool requires rapid, light tapping motions rather than slow, firm pressure to prevent fabric puckering and bunching, using a three-pass system that gradually increases pressure around the entire circumference.
#2 Ring positioning determines both the aesthetic appearance and functional light distribution of your lampshade, with table lamp rings sitting below the fabric edge to create an overhang that hides bulbs from eye level.
#3 Vintage and upcycled fabrics create more distinctive lampshades than new materials because discontinued patterns offer true uniqueness and older curtain fabrics typically have superior weight and structure for light diffusion.
#4 The simultaneous rolling technique for attaching both rings requires working at the same speed on top and bottom while keeping the fabric taut, as diagonal wrinkles created during this step cannot be fixed without completely restarting.
#5 Lampshade making materials are accessible through online suppliers like Needcraft with the complete tool kit costing approximately £35-50 for reusable items plus £9-15 per shade for consumable materials like rings and PVC backing.
You might also enjoy
Skirt sewing patterns to make in minutes
Make paper flowers Easy DIY tutorial
Gilhoolie is listed in the From Britain with Love directory
Get all the info you need to connect with Gilhoolie from the listing >>
Feeling inspired? Take a look at the Creative Workshops category in our Directory, where you’ll find a variety of inspiring courses, from art and crafts to fashion and beauty, interiors, cooking and flower & gardening.
Clare Kelly is a freelance craft journalist and photographer. All images courtesy of Clare Kelly.
If you run a creative course you think would interest our readers, do get in touch. Email us at editor@frombritainwithlove.com.
A pin to share to Pinterest


Leave a Reply