
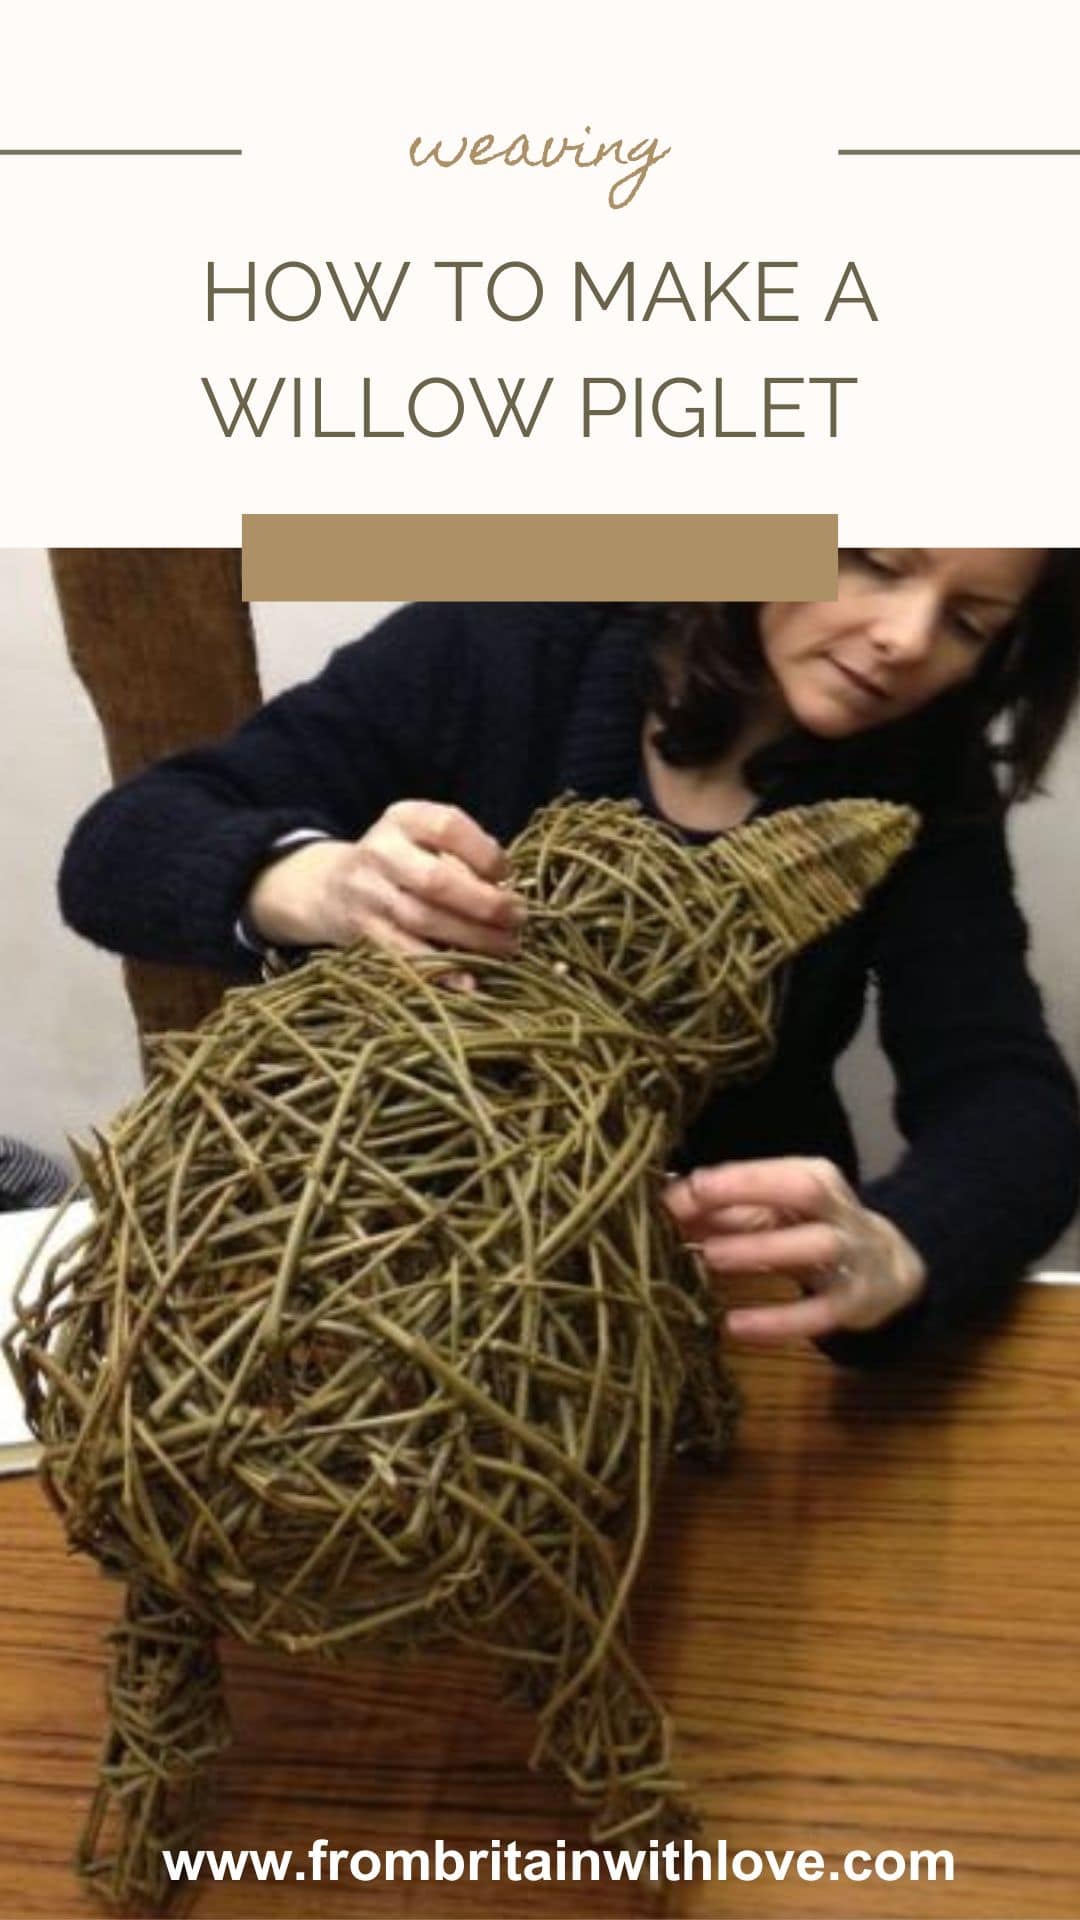
How to weave a willow piglet
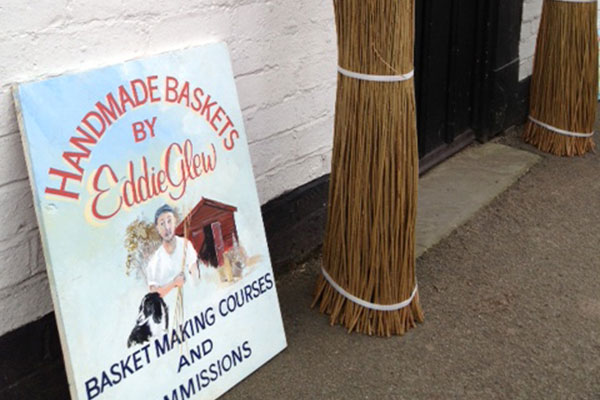
Laura and Nicky headed to the tranquil county of Staffordshire to learn the art of willow weaving with basketmaker Eddie Glew of Blithfield Willowcrafts (listed in our directory here). Here we show you how to weave a willow piglet
A venue from the 1600s
Arriving at the venue, a beautiful old timbered building dating from the 1600s called Church House in the village of Abbots Bromley, I was greeted by basketmaker Eddie Glew and my fellow student weavers who would be joining me on this one day introduction to willow weaving course.
Cups of tea and posh biscuits
After hot cups of tea all round and ‘posh biscuits’ (Eddie’s words, not mine) we were offered the choice of making a traditional round willow basket or a willow piglet. I decide to go for the latter, having seen the fabulous willow sheep standing in the entrance of the building.

Willow sheep
Made by Eddie, the light coloured stripped willow had been skilfully manipulated to resemble a sheep’s curly fleece, while the darker untreated willow was used to define the face and legs. Would I really be able to create a three dimensional organic sculpture from those long, straight lengths of willow? Time would tell…

Local green willow
First of all, Eddie explained to us how the ‘green’ willow is grown locally and then soaked in water for several days to soften up. Then he demonstrated how to work with the long willow rods, bending each length over your thigh to create a soft undulating curve.
The blunt end is called the ‘butt end’ while the finer end of the rod is called the’ tip end’. Technical terms apart, this is a very hands-on process with minimal tools required – you’re mostly relying on your own two hands and a bit of ingenuity.

Weave a willow piglet
Working the willow into curves

Making the head
The starting point for my piglet was to weave two small willow wreaths to create the head. This was a good way to get used to working with the material. Bending and tucking in the lengths of willow, a small circlet started to form.

Making the body
Two larger oval shaped wreaths were then made and held together temporarily using string to form the main egg-shaped of the body of the piglet.
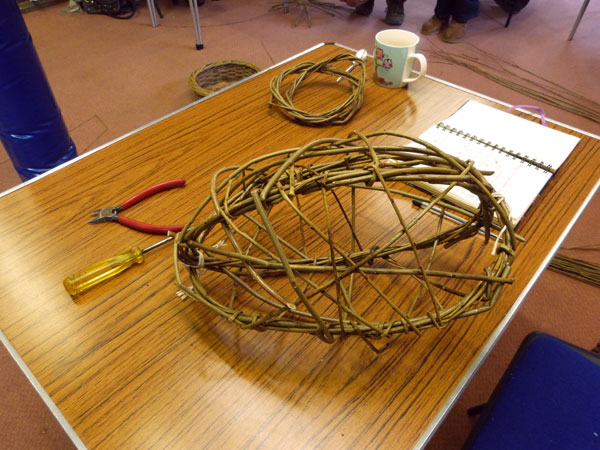
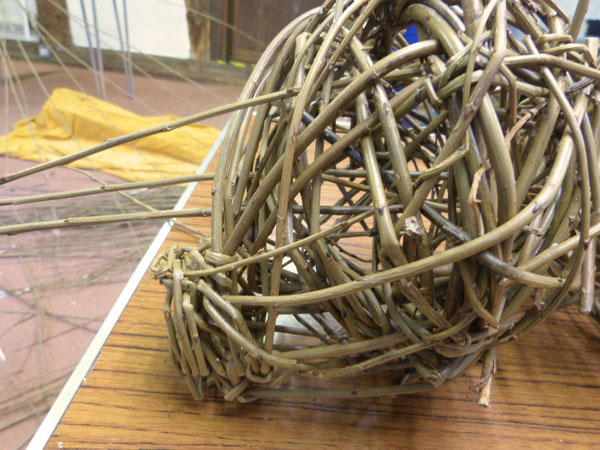
I gradually built up the body density by bending and wrapping the long willow rods around the egg-shaped frame until it started to take on a more solid appearance.

Making the snout
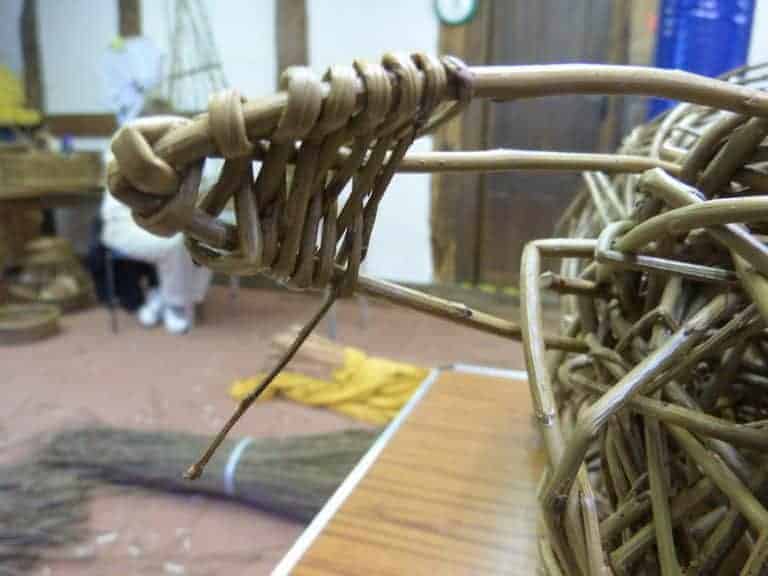
Next the head and body were tied together and I started to create the pointy snout shape of the piglet’s face.

The snout itself required some basketweaving techniques to create the rounded end of his nose. I really enjoyed using the direction of the swathes of willow to give a feel for the muscle structure in the animal’s face.
Making the legs
Then the head was joined to the body and I started on the legs. According to Eddie, it’s all in the expression so things like lop-sided legs and ears are all well and good – thank goodness for that.

Ears and a curly tail…
Last job of all was to weave his little floppy ears, again using a close-knit basketweaving technique that Eddie had demonstrated, before making a curly tail by winding a willow rod tightly around a bodkin – one of the few times I used a piece of equipment other than my hands, all day.

With the addition of his basketweave ears and curly tail, my little piglet friend was complete. I like his cheeky inquisitive expression – he looks like he’s up for a bit of mischief!


Back home, I asked my son Sam what my piglet should be called and he decided on ‘Salty Pig’. Slightly bemused, it took a moment to realise that this was a reference to Peppa Pig. So Salty Pig he is, snuffling on the lawn to his heart’s content. He’s a lasting reminder of a very enjoyable day.

For anyone interested in trying their hand at willow weaving, I would highly recommend this course. It’s great fun and you really get a feel for the willow, learning at your own pace. Eddie’s input is great too – he’s clearly passionate about his craft, having learnt it from his late father.
One of the things I loved about this day was that the material is just so raw and natural. I love too that it can be transformed so completely with your own two hands. Anyone who loves the idea of using a time-honoured and traditional material will love this course. I hope you feel you now know how to weave a willow piglet too!
Other creative Make projects to enjoy
Modern Calligraphy workshop with Gemma Milly

Join me at a modern calligraphy workshop with Gemma Milly and learn the basics of creating beautiful, contemporary lettering. There are warm up ideas, tips on how to form the letters and get the ink pressure right. As well as links to the most beautiful metallic inks (including rose gold)…
How to stencil furniture with Annie Sloan chalk paint

Discover loads of creative stencil ideas as well as a really helpful youtube tutorial by Annie Sloan herself, talking you through, step by step how to stencil furniture using Annie Sloan Chalk Paint. It’s more fun and easier than you might think! Perfect for transforming tired old piece of furniture or junk shop finds…
INFORMATION
Blithfield Willowcrafts listed in the From Britain with Love directory
Get all the info you need to connect with Blithfield Willowcrafts from the listing >>
Feeling inspired? Take a look at the Creative Workshops category in our Directory, where you’ll find a variety of inspiring courses, from art and crafts to fashion and beauty, interiors, cooking and flower & gardening.
If you run a creative course that you think our readers would be interested in reading about, do get in touch by emailing laura@www.frombritainwithlove.com.
A pin to share to Pinterest


Excellent article. I want to make a willow reindeer as a surprise Christmas present for my wife. Thanks a lot.
Beautifully done! Your little piggy is a success!!! Thanks for sharing.
Glad you like him!
How do you tie up the ends?
Love the piggy and the lamb Also the suggestion for the reindeer Let’s face it I love all animals and chickens too Lol Would love the instructions thank you
This willow piglet is absolutely delightful. Your clear instructions and detailed photos make the weaving process feel approachable. I cannot wait to gather supplies and create one this weekend.