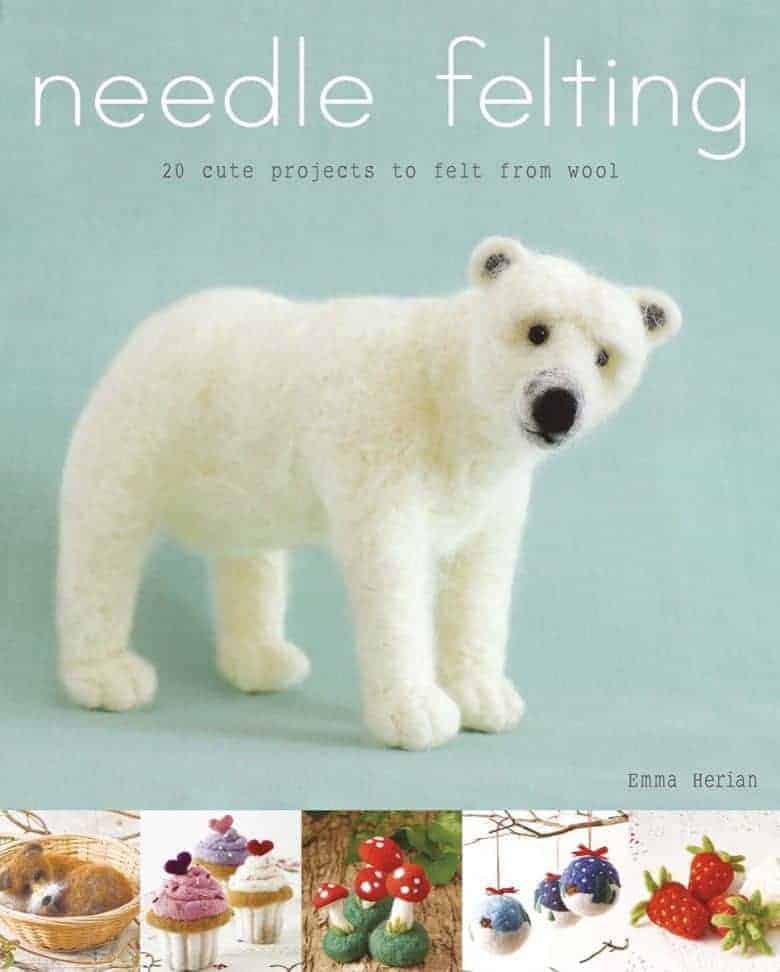
I love how fibre artist Emma Herian gives such personality and life to her needle felt creations. Based in Brighton, Emma is a teacher as well as a maker and has recently published a beautiful and inspiring new book. It’s full of cute needle felt projects – 20 to be exact. There are felted acorns, butterflies, bumble bees and the most adorable sleeping fox… But it was the little grey rabbit that stole my heart. I really wanted to share him (or maybe her?) with you, so I was thrilled when Emma kindly agreed to write a simple step by step tutorial. Here’s how to make a needle felted rabbit of your very own. Once you get going you might feel inclined to create a whole family of bunnies…

Materials
- Pure carded wool in mouse grey, white, pale pink and black
- Wensleydale wool curls in cream/white
- 1⁄4in (6mm) shiny black beads for eyes
- Black and white sewing thread
- Ribbon for a bow
- Multi-needle felting tool with six 38-gauge needles
- Single 38-gauge felting needle
- Felting foam block or thick upholstery foam
- Sewing needle
How to make a needle felted rabbit – techniques
Needling
Hold the felting needle as you would a pen or pencil, leaving the lower part free to poke into the wool. The needle needs to penetrate the surface you are working on but no further than 1/4 inch (6mm) deep, as that is the only part of the needle that holds the barbs. The lifting and poking motion in a straight direction causes the fibres of the wool to mat together and interlock. The more you poke, the tighter the fibres become, giving structure to your piece.
Flat shapes
This technique can be used for features such as ears, petals and leaves. First, take a wisp of wool and, using both hands, pull it into a loop. Then, holding the wispy ends in one hand, lay the loop flat on the foam block. Using the single needle, stab the loop shape all over, working your way into the centre from the outside edge. Lift the loop off the foam and turn it over, then repeat the process until the piece has reduced in size, thickened in texture and resembles the desired shape.
How to make a needle felted rabbit – step by step
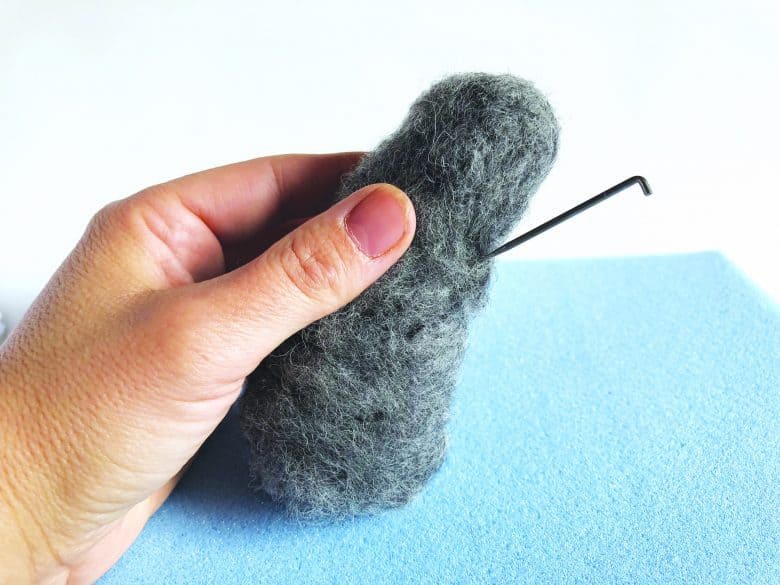
1 To make the body, take a thick strip of grey wool, roughly 4 x 4 3⁄4in (10 x 12cm). Place it on the foam block and stab with the multi-needle tool a few times. Tease it off the foam block, turn it over and roll it into a thick sausage shape with a slightly fatter end. Stab lightly with the single needle all over to secure, rounding off the fatter end and leaving the other end unworked for attaching the head later.

2 make the head
For the head, take a smaller amount of grey wool and make a balloon shape. Holding the end with one hand, stab all over, rotating as you go, leaving the bit you are holding as a loose fluffy end.

3 Join the head and body
To join the head to the body, place the head on top of the body and stab the loose ends together. For the paws, take four equal strips of grey wool roughly 2 1⁄4 x 2 3⁄4in (6 x 7cm). For the front paws, flatten the surface of two of the strips by stabbing with the single needle. Lift the strips off the foam block, turn over and stab once again. Then roll each piece tightly lengthways to form a thin sausage shape. Stab all over, leaving the ends unworked, then roll between the palms of your hands and stab all over again. This will create a dense, smooth finish. Add a wisp of white wool at one end of each sausage and stab with the needle to form a rounded tip. This will become the paw of the rabbit. Do the same to the final two strips of grey wool for the back legs. Make the rounded tip ends slightly fatter by adding a bit of grey wool in that area.

4 Shape the legs and paws
Now shape the legs and paws. For the two front paws, stab a line about 3⁄16in (5mm) from the rounded end to mark the angle of the paw. Stab above that line, then roll that area between your fingers to form an ankle. Turn the paw over so the angled bit rests on the edge of the foam block and stab the base of the paw flat. Repeat for the other leg.

5 Make the back legs
For the back legs, the paws need to be longer and flatter. Start forming the ankle line higher, roughly 3⁄8in (1cm) from the tip. Add more grey wool to widen and shape the paw if needs be, remembering to stab the base of the paw using the edge of the foam.

6 Attach the legs and body
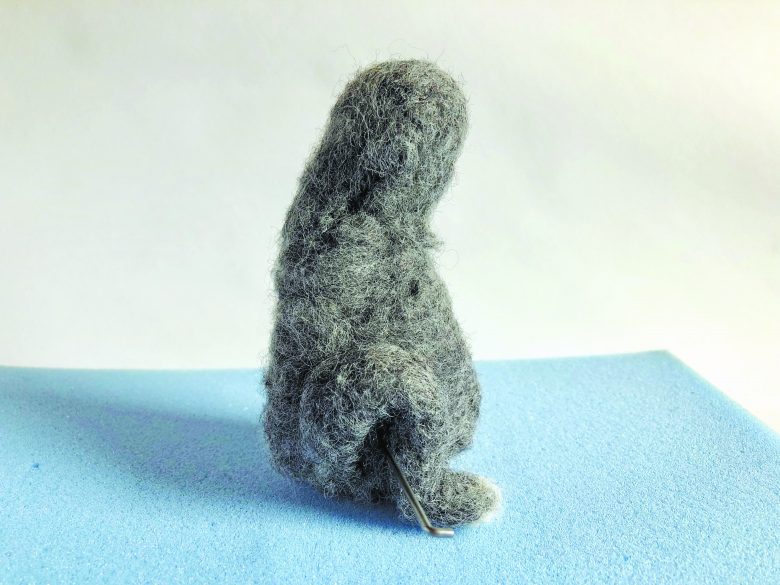
To attach the back legs to the body, bend the leg to form the arch of the knee, place on the side of the main body and stab with the needle all over to hold in place. Add wisps of grey wool to fix key areas in place. Once both back legs are attached to the sides, place the front paws in between the back legs on the front of the body. Stab the needle into the wispy ends to fix them in place.

7 Shape the hip and rump
Gradually add more grey wool over the back legs to create the rabbit’s hip and rump, stabbing repeatedly as you go. For the front legs and the chest of the rabbit, start adding some white wool along with the grey to blend and build out the chest.

8 Start the face
To start creating the shape of the face and nose structure, make a small loose ball with an unworked end, similar to that in step 2, about a third of the size of the head. Join it to the front of the head with the single needle, adding wisps of grey wool to the sides and ridge of the nose. Once covered with wool, stab a V-shaped line with the needle to the tip of the nose. This will act as a guide to where the eyes will sit and shape the rest of the face. Now stab a smaller upside-down V-line just under to form the mouth. Add small lumps of grey wool either side of the mouth to create cheeks. The more you stab with the needle, the denser the texture will become. If needs be, add more wool with a little white blended in. At the top of the V, start stabbing the needle to make indentations for the eye sockets. Add more wool if you find it sinking in too far.

9 Make the ears
To make the ears, pull a small length of grey wool into a loop shape. Holding the ends in one hand, stab with the single needle on one side, then turn the piece over and repeat. As you stab, the loop will shrink and become denser. Shape the pointed end by rubbing the tip between your fingers, then stab the point into a rounded edge. Repeat the same process for the other ear.

10 add detail to the ears
Blend light wisps of pink and white to the inside of each ear before fixing them in place onto the head by stabbing in the grey wispy ends on the sides. Add a few wisps of grey to the base of the ears where they meet the head.

11 Add detail to the face
Now make the detail on the face. With the sewing needle and black thread, sew the two beads into position where you made the indentations earlier. Fasten off the loose thread and hide it within the head. Add touches of black wool around the outside of the beads to give more depth, then add a small amount of white wool just under the eye. For the nose, stab in a small amount of pink blended with white to form an upside-down triangle. For the mouth and outer edges of the nose, stab in a wispy bit of black, following the line you shaped earlier. Sew on some white thread for whiskers, remembering to knot the end.

12 Make the bob tail
Finally, make a fluffy white tail. Take a small amount of the curly Wensleydale wool. Place it at the back of the rabbit’s bottom and stab in place with a wisp of white wool. You can shape it into a rough ball shape. Add a ribbon around the neck and tie into a bow.

You could use different colours of wool and add fluffy curls to add texture and variation. Hope you enjoy…
INFORMATION
Find Emma Herian in the Textiles section of our Directory.

You can buy a copy of Emma’s book Needle Felting 20 Cute Projects to Felt From Wool on Amazon
Are you a maker, grower or creative course provider? Like to list with us and benefit from joining our supportive community? We’d love to hear from you. Check out the packages we offer on our Join Us page and get more details from our Information pack here
A PIN TO SAVE TO PINTEREST
If you’ve enjoyed discovering this Needle felted rabbit tutorial it would be great if you could share the love. All you have to do is hover over the image below until you see the Pinterest button appear. Then share it to your boards. Thank you! X


Leave a Reply