
There’s something eternally charming about a hand-crafted beret — that timeless French silhouette perched just so, giving even the simplest outfit a touch of quiet confidence. Whether you’re sewing with felt, knitting, crocheting or felting wool by hand, creating your own beret is a lovely project for a cosy afternoon. In this tutorial and guide, I’ll show you how to make your own felt beret, share practical tips on construction and materials, and link to some of the best beret patterns available online to inspire you.
Getting started: materials and fabric
Begin by choosing your main fabric. Wool felt is traditional and gives a wonderfully soft yet structured finish. You’ll need a square large enough to cut a large circle—this forms the body of the hat. Make sure to place the right sides together when cutting duplicate layers.
Measure your head circumference carefully (around your head just above your ears). Most beret patterns include a seam allowance, so double-check your pattern instructions to make sure you’re cutting to the correct size.
If this is your first time making a hat, you might like to start with a simple PDF pattern such as this one on Etsy, which includes helpful diagrams and easy-to-follow steps:

Cutting out your pattern pieces
Lay out your felt and trace your pattern piece – a large circle for the crown and a smaller inner circle in the centre that fits your head. This smaller opening is the secret to a snug, elegant fit. The size of this circle depends entirely on your head circumference, so take time to measure twice before cutting once.
Once your main circle is cut, you can prepare the lower piece (the band) that finishes the bottom edge neatly. Some designs also include lining pieces if you’d like to create a smooth interior. The turn of cloth—the way the fabric naturally curves over the edge—will help your beret sit beautifully on your head.
For a structured wool felt beret, try following the step-by-step guide from We All Sew which shows the process with photos and clear explanations.
Stitching and assembly
With the wrong sides together, pin your top of the beret piece to the lower piece, aligning the outer edge carefully. Use a small seam allowance (usually around 1 cm). Stitch slowly around the circle, easing in any slight curves.
When you’ve joined your circles, clip small notches around the inside edge to help the fabric lie flat. Turn the pieces through so the right sides are facing, and press gently. If your felt is delicate, always test heat settings on a scrap first — some felts can scorch easily.
If you’re working with wool felt and would like to add shaping, gently steam the beret over bubble wrap and mould it with your hands. The texture of the wrap helps distribute heat and shape without flattening the surface.
For a soft, solid color beret, this simple construction is all you need. If you’d like to add interest, consider a mix of colours—perhaps a two-tone top and band—or even felted embellishments like leaves or flowers.
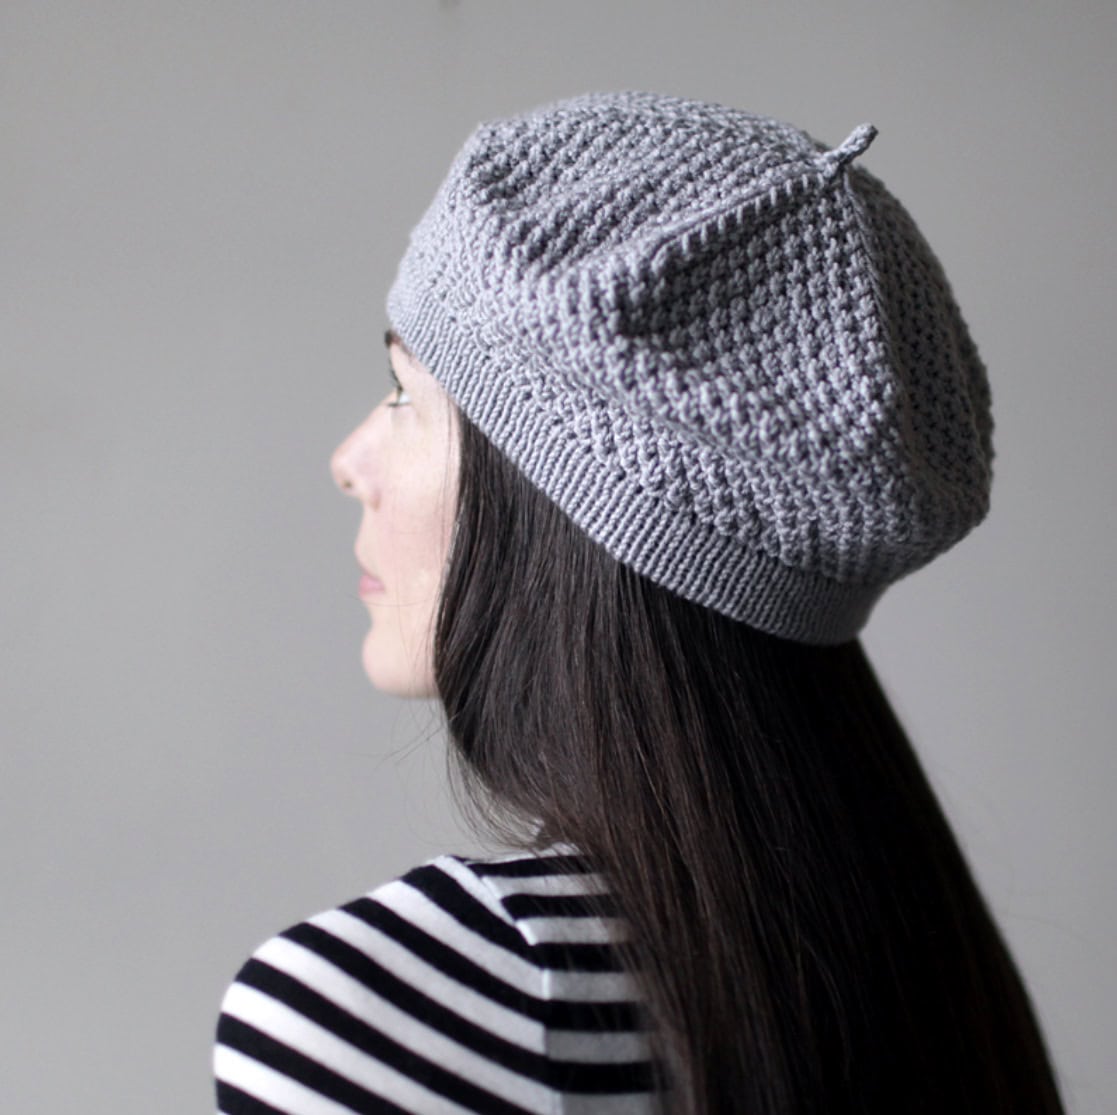
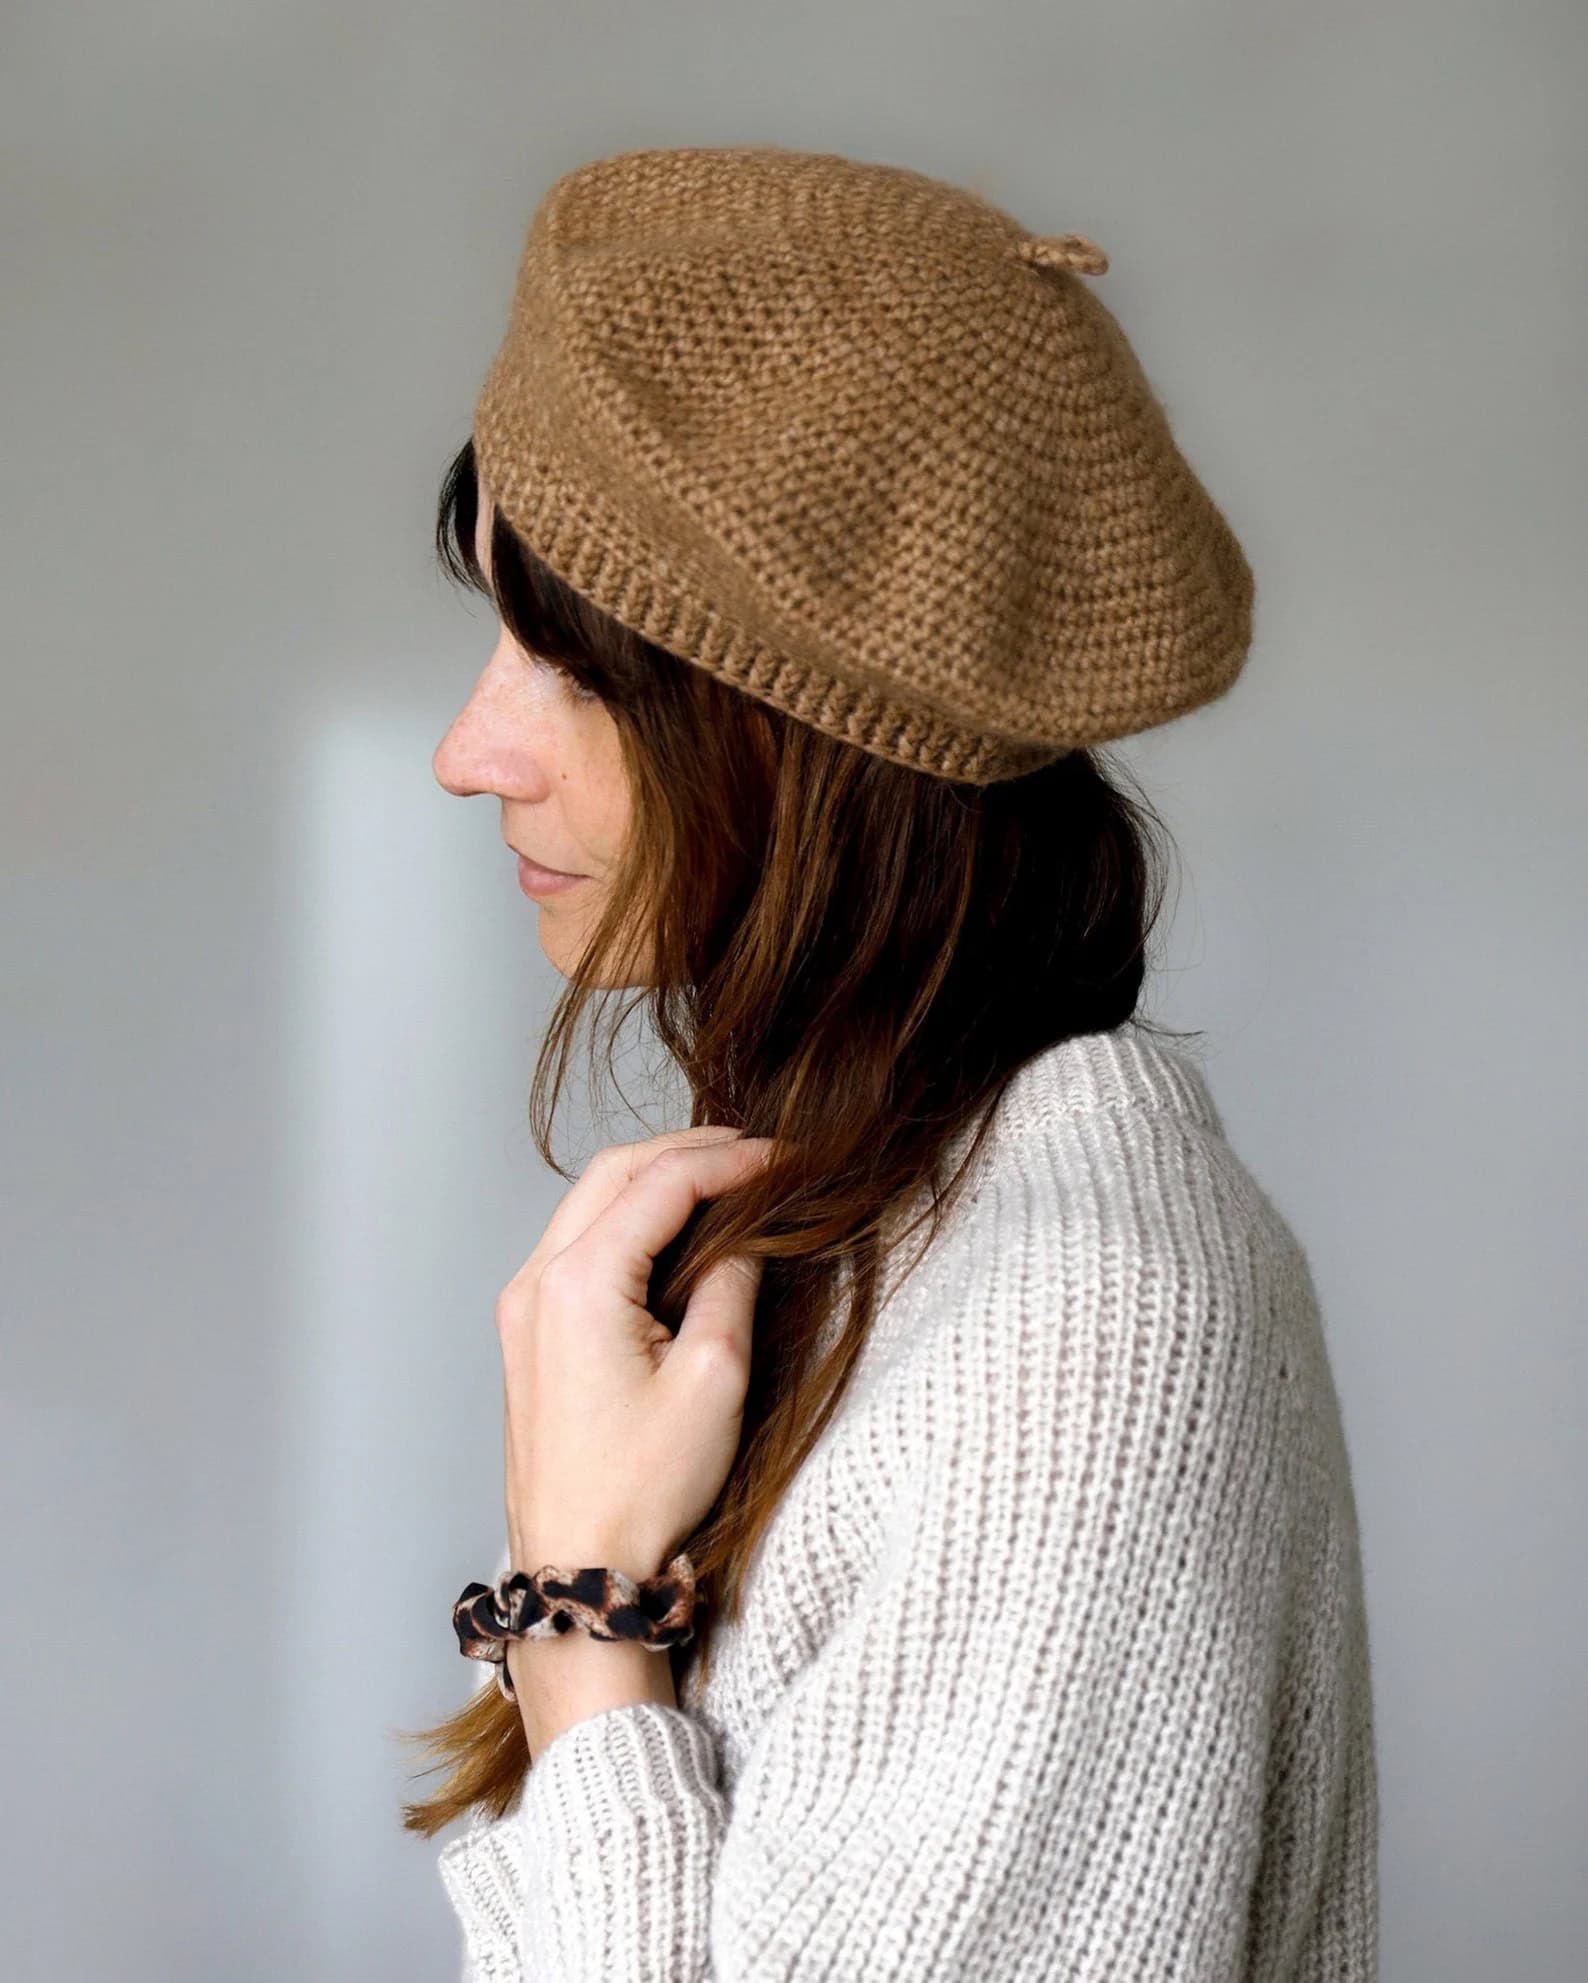
Knitted and crocheted berets
Not all berets are sewn — knitted and crocheted designs are wonderfully tactile and can be made from different yarns in endless hues. If you’re comfortable knitting in the round, try this free Classic Knit Beret from Purl Soho, a timeless piece worked on circular needles

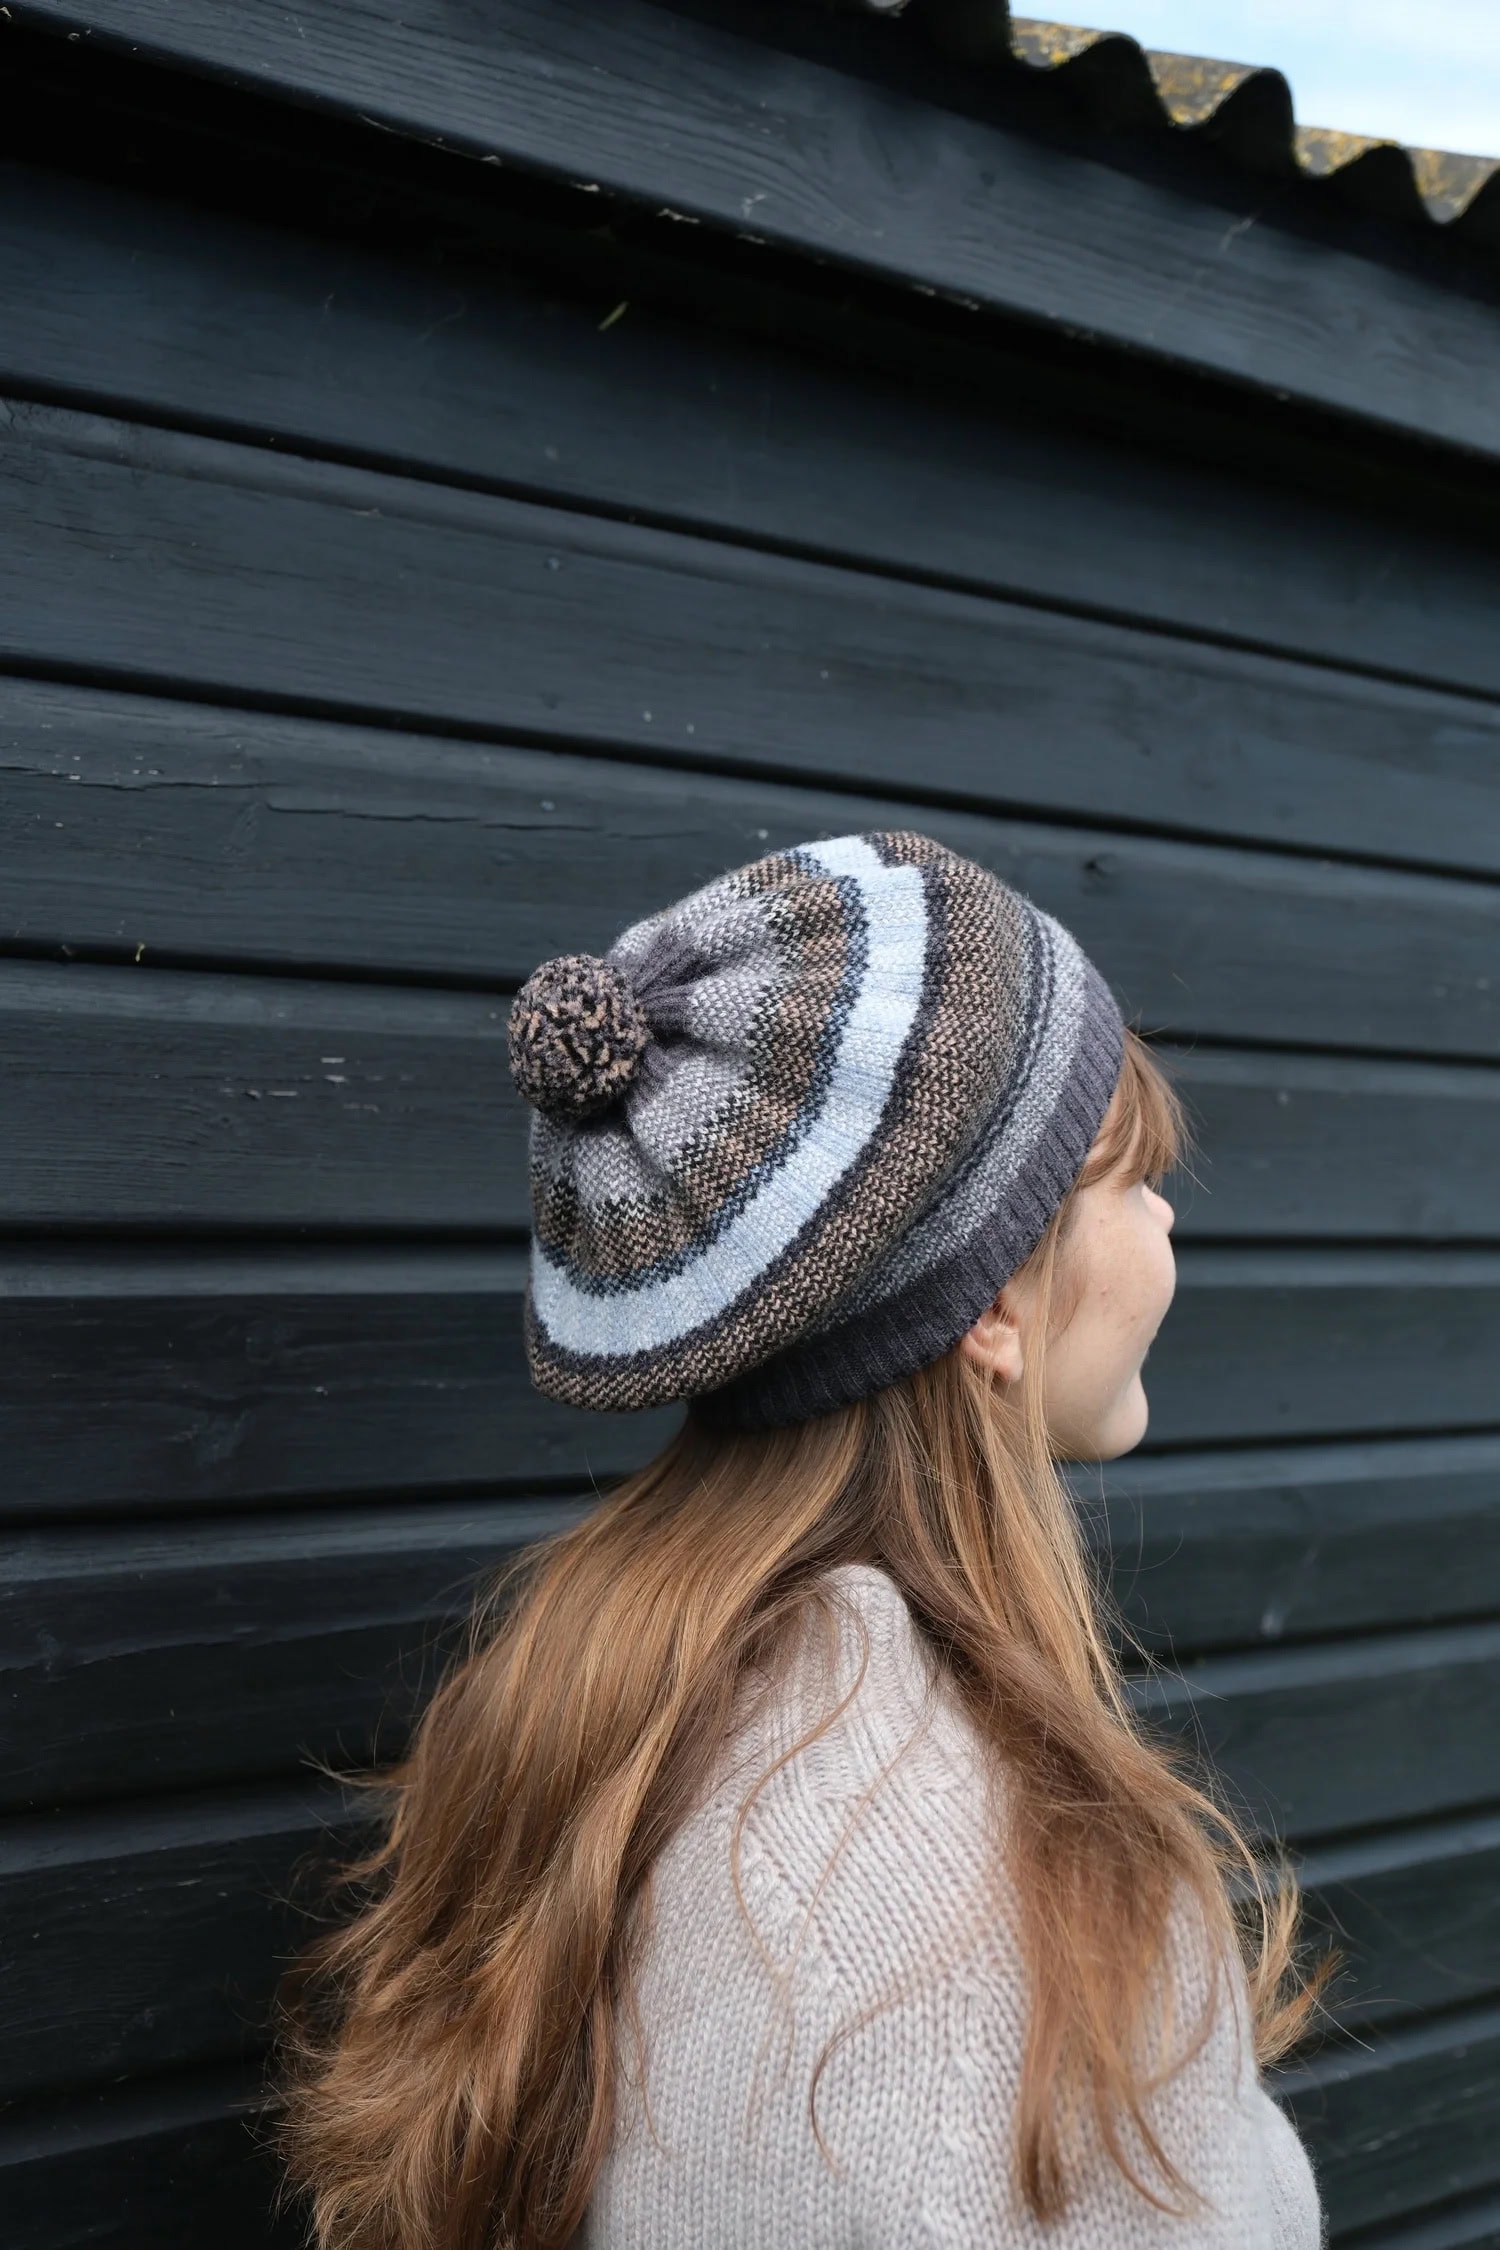
If you prefer texture, the Moss Stitch Beret on Ravelry creates a beautiful nubbly surface. Before starting, check your yarn requirements to ensure you have enough for your chosen size.
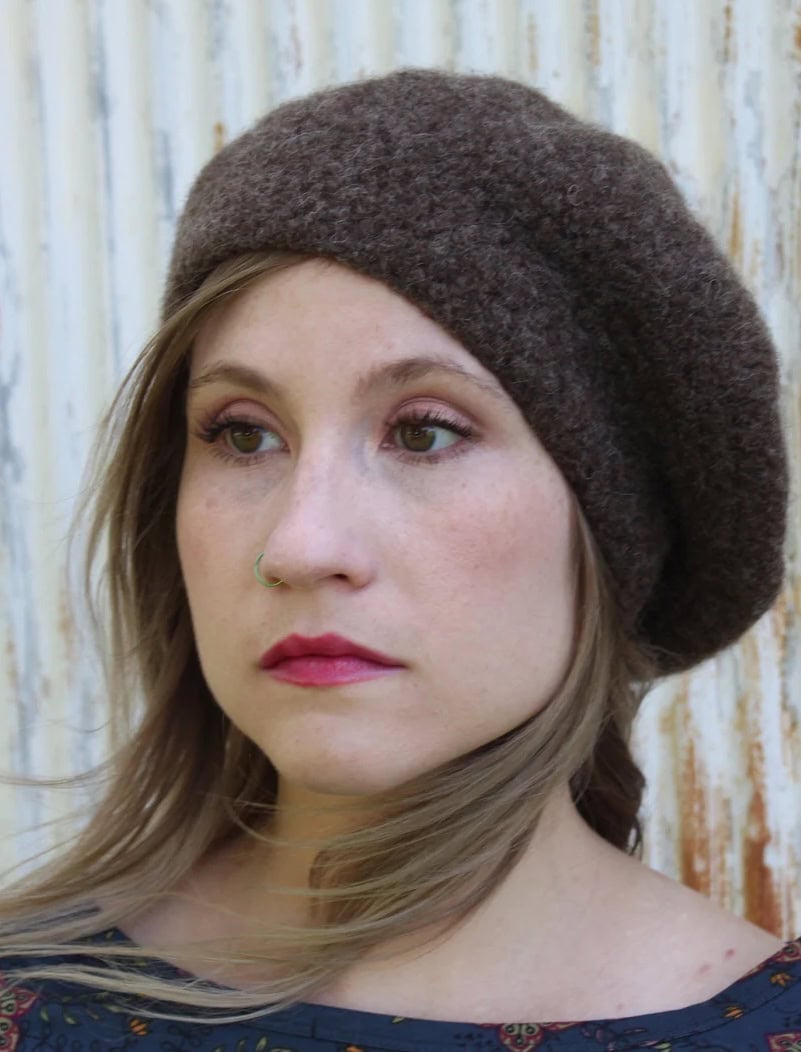
For something more sculptural, the Felted Beret Knitting Pattern on Etsy guides you through the felting process to achieve that classic firm shape.

Crocheters might love the Marseille Felted Crochet Beret, a playful take on the French beret that works beautifully in different colours of wool yarn.
For a vintage twist, take a look at Susan Crawford Vintage’s Sunday Pictorial Beret, inspired by 1930s fashion
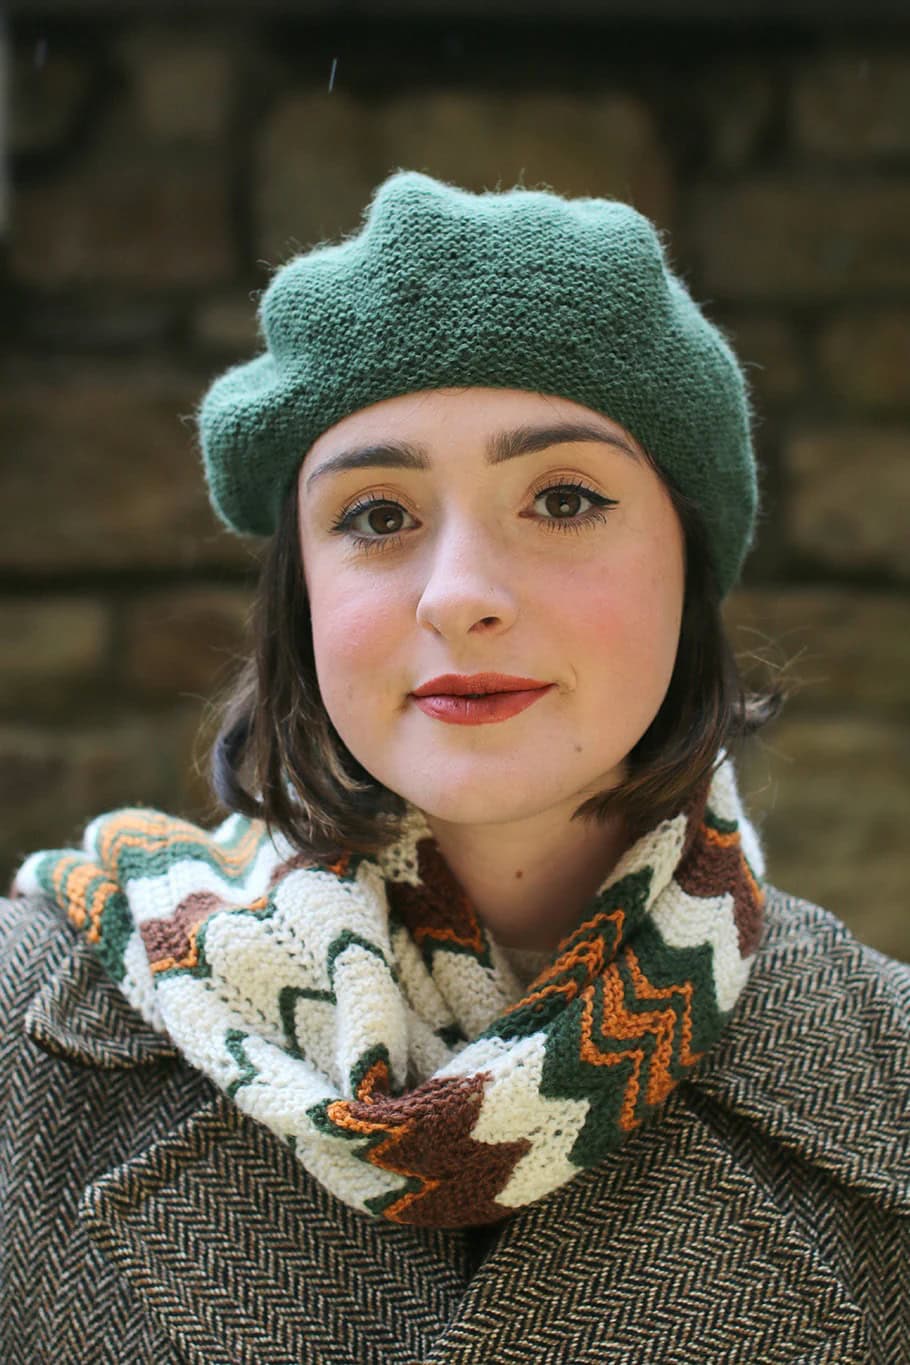
or the Seòl Beret Pattern from Scottish Textiles Showcase, which offers a modern yet timeless silhouette.
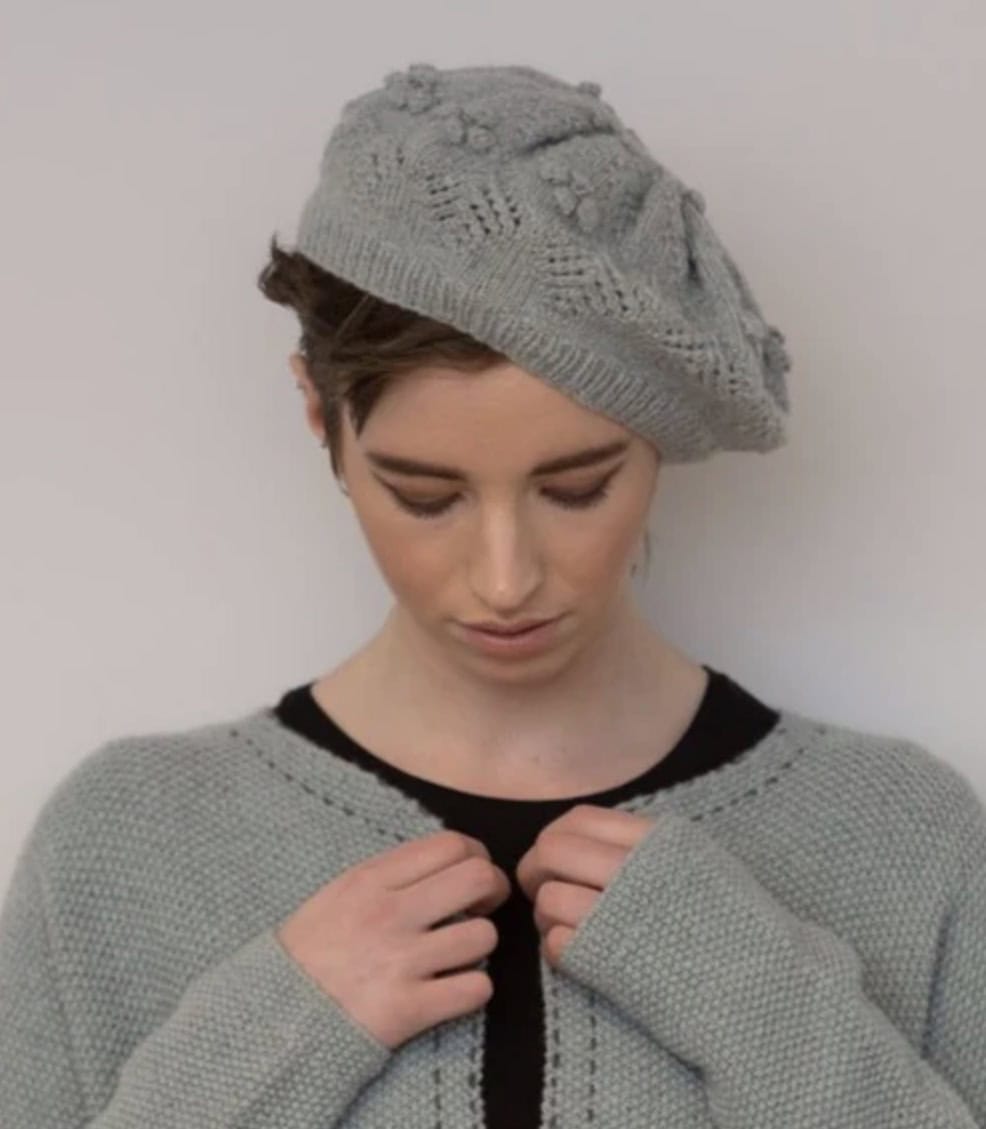
Also worth knowing about, the Sofie Beret pattern on Etsy offers a slightly slouchy, modern finish.
Exploring sewing patterns
If sewing is more your thing, there are plenty of excellent beret sewing pattern options available. Each offers its own twist on the style of hat. For instance:
- PDF Sewing Pattern French Beret (A4) – simple and classic.
- French Beret PDF Sewing Pattern – Instant Download – perfect for beginners.

Hampstead Beret Hat Sewing Pattern – a chic, structured design.

Many of these are sold by independent makers who earn a small commission, so by purchasing their work you’re supporting the kind of creative community that keeps traditional craft alive.
Free patterns and tutorials
If you’d like to experiment before committing to a paid download, there are excellent free patterns and guides online. The Hello Sewing tutorial walks you through how to create your own second circle and band, complete with video instructions on YouTube.
Speaking of which, this helpful YouTube tutorial demonstrates how to cut and sew your beret from scratch. It’s ideal if you prefer to see each step rather than just reading directions.
For knitters who prefer vintage flair, the free Beret Pattern PDF from Lion Brand Yarn is a wonderful resource,
Finishing touches
Once your beret is stitched or knitted, try it on and check the fit. Adjust the outer edge or band if needed to ensure comfort. The top of the upper piece should sit neatly without puckering.
If you’re aiming for that effortlessly jaunty beret look, tilt it slightly to one side — it’s all part of the charm. We’re thinking Jenny Agutter in The Railway Children, or possibly Rory Gilmore. NOT Benny Hill or Frank Spencer. For added comfort, line the interior with soft cotton or silk, or even use contrasting lining pieces for a bespoke touch.
Don’t forget to block or press your finished beret according to the fabric type. For wool felt, gentle steam and shaping by hand work best. For knitted berets, pin to the final pattern shape — often around 28–30 cm diameter — and leave to dry flat.
Around the world with handmade berets
From the chic streets of Paris to craft workshops in the United States and creative studios in New Zealand, the beret continues to inspire makers everywhere. The beauty of this style of hat lies in its simplicity — a large circle, a small circle, and a world of possibilities in between.
Whether you make yours from soft felt, vibrant wool, or a mix of colours, you’ll end up with something truly individual. So why not gather your materials, find your starting point, and enjoy the process?
Because when it comes to making your own French beret, the true pleasure is in the journey — one that celebrates tradition, texture, and that unmistakable kind creativity that connects us all.
If, after all of those creative ideas, you’re feeling more like you’d like to buy, rather than make one, how about these beautifully made berets?
Quinton Chadwick is always worth checking out for woolies of any description and their berets are no exception. This one is in Autumn Berry colours whilst this one (below) is in Wintry Fossil shades.
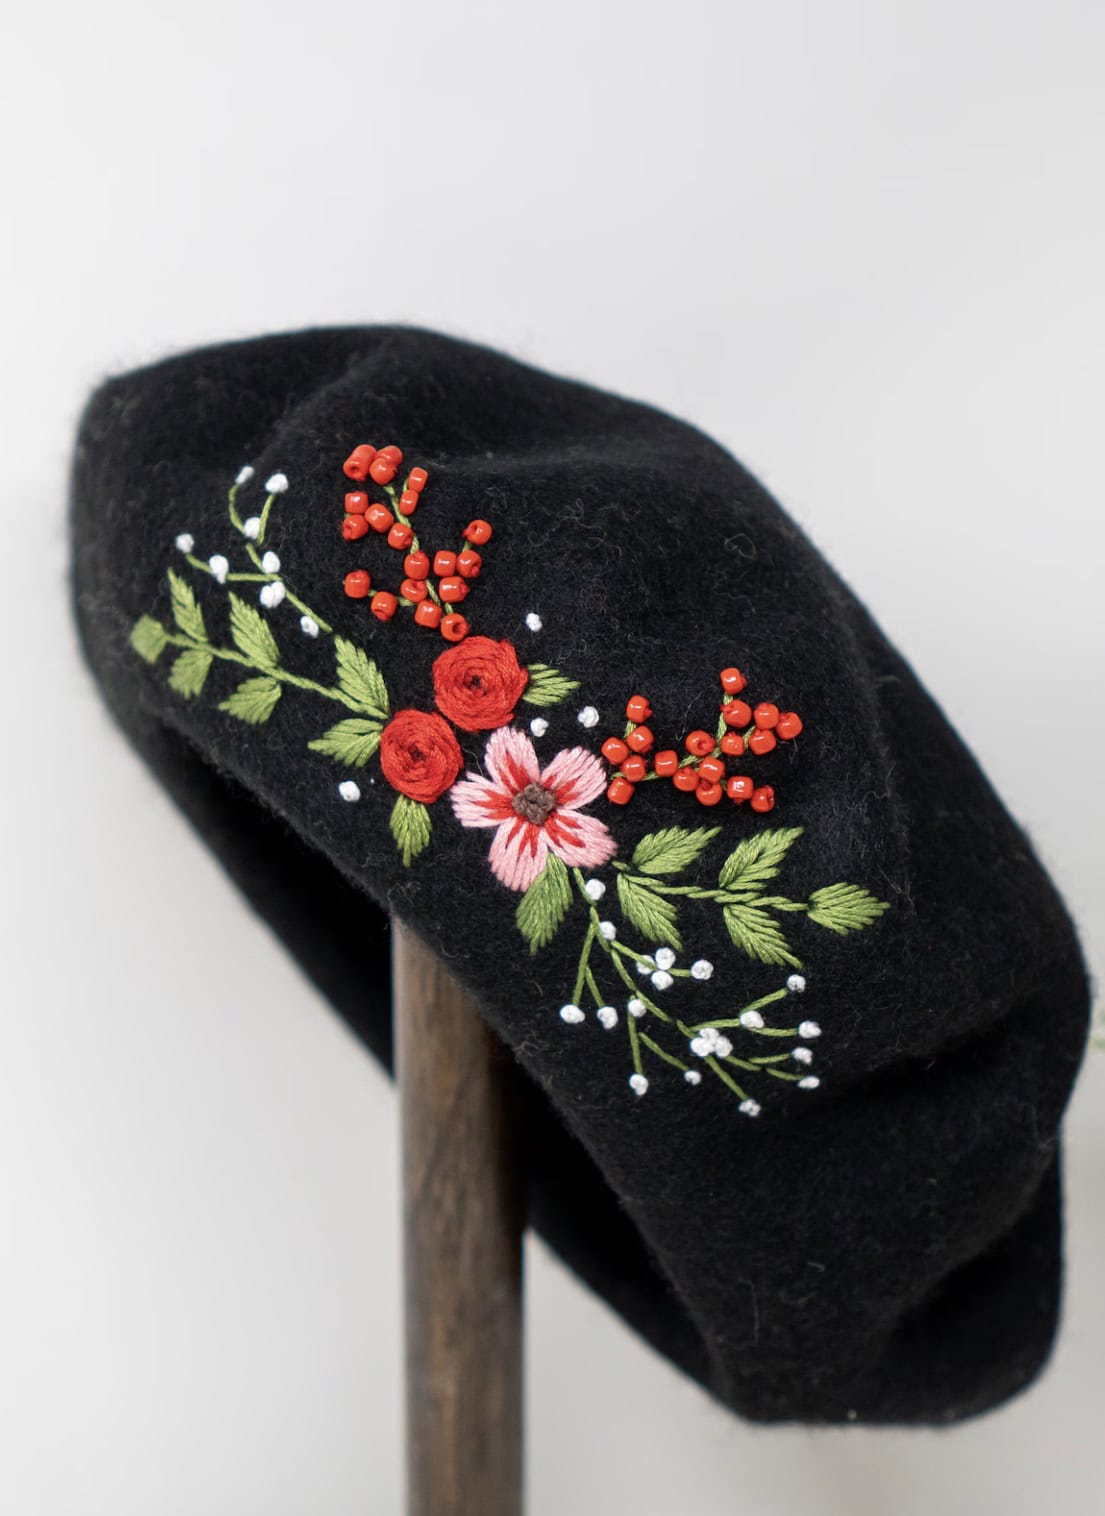
Love the addition of embroidery and beading to this classic wool beret, available to buy on Etsy here.
This post contains links to some of my favourite independent pattern makers. If you decide to purchase through one of these links, I may receive a small commission, at no extra cost to you — helping to support more beautiful handmade projects in the future.
You might also like
How to make an apron dress in no time & best pattern


This is quite the comprehensive guide to beret-ception! Who knew crafting these classic hats involved such precise circle-cutting and secret fit-algorithms? The serious talk about seam allowances and steaming felt over bubble wrap is utterly fascinating, though I suspect my cat might find the bubble wrap more interesting than the beret shaping. The sheer variety of patterns – from vintage Scottish to jaunty modern – is enough to make any hat enthusiast’s head spin, perhaps even as much as a beret itself! And the helpful tips, like tilting for effortless jaunty charm (not Benny Hill, phew!), are absolutely essential. Its a wonderfully tactile and inspiring read, even if one feels slightly overwhelmed and potentially ready to start measuring heads around the house.
Glad you enjoyed it! 😊