
Slab pottery ideas for beginners – 25 easy clay projects
I have a pottery beginner’s taster day coming up at Farnham Pottery, which is going to cover slab built pottery making as well as throwing on the wheel. And I wanted to have some slab pottery ideas up my sleeve so, first things first, I did a bit of scrolling for inspiration and found some easy pottery ideas I think might just be doable.
Slab Pottery Ideas for Beginners – 25 Easy Clay Projects
Slab pottery is a hand-building technique where clay is rolled into flat sheets, then cut, shaped and joined to make useful or decorative forms. It’s an approachable way to try ceramics without needing to start on a pottery wheel.
Whether you’re inspired by TikTok – make video tutorials or you’re just looking for a real project try at home, slab building is a great way to explore clay. You’ll learn about texture, form, and the drying process, while developing pottery skills that can carry over to beginner wheel-throwing projects later on.
What is Slab Pottery and why is it good for beginners?
Slab pottery is a hand-building technique where clay is rolled into flat sheets, then cut, bent and joined to create forms. Unlike wheel throwing, it doesn’t require you to centre clay on a pottery wheel, so it can be an approachable place to start if you’re new to ceramics. You can start small—making mini vases or maybe a soap dish—before moving on to larger pieces like a slab vase or ceramic clock.
You’ll also experiment with soft slabs (flexible and bendable) and slabs that have firmed up to the leather-hard stage, when the clay is still workable but sturdy enough to hold its shape. Along the way, you’ll discover how to add a support structure, test new glaze combos, and turn simple clay into decorative clay pieces.
It’s a satisfying process that uses simple tools, doesn’t demand expert-level skills, and is packed with opportunities to create small ceramics with a personal touch.
25 Easy Slab Pottery Project Ideas
Here are 25 slab pottery ideas for beginners, from simple functional pieces to more decorative clay projects. Some can also be made with air-dry clay.
1. Tealight Holder
Cut a rectangle slab, curve it, and punch out a small hole for light to shine through. Perfect for a votive-sized candle. Add a fun twist by carving designs or using a cookie cutter.
This printable tealight holder template is a good idea and available to buy on Etsy. It includes printable templates, step by step instructions and a slab pottery guide.

2. Soap Dish
Press a single piece of clay over a mold or bowl, then pierce small drainage holes and/or add a ridged texture to the base if you like the idea. It’s a great beginner pottery project and makes a useful bathroom accessory.
I like the textural simplicity of this soap dish available to buy on Etsy

Check out ceramics_by_jas on Instagram – a great source of inspiration for clay slab building. Jaspreet is based in Singapore and offers online beginner courses in slab pottery as well as templates and more. She uses embossing and impressing into the clay to beautiful effect, like with this soap dish:
3. Mini Vases
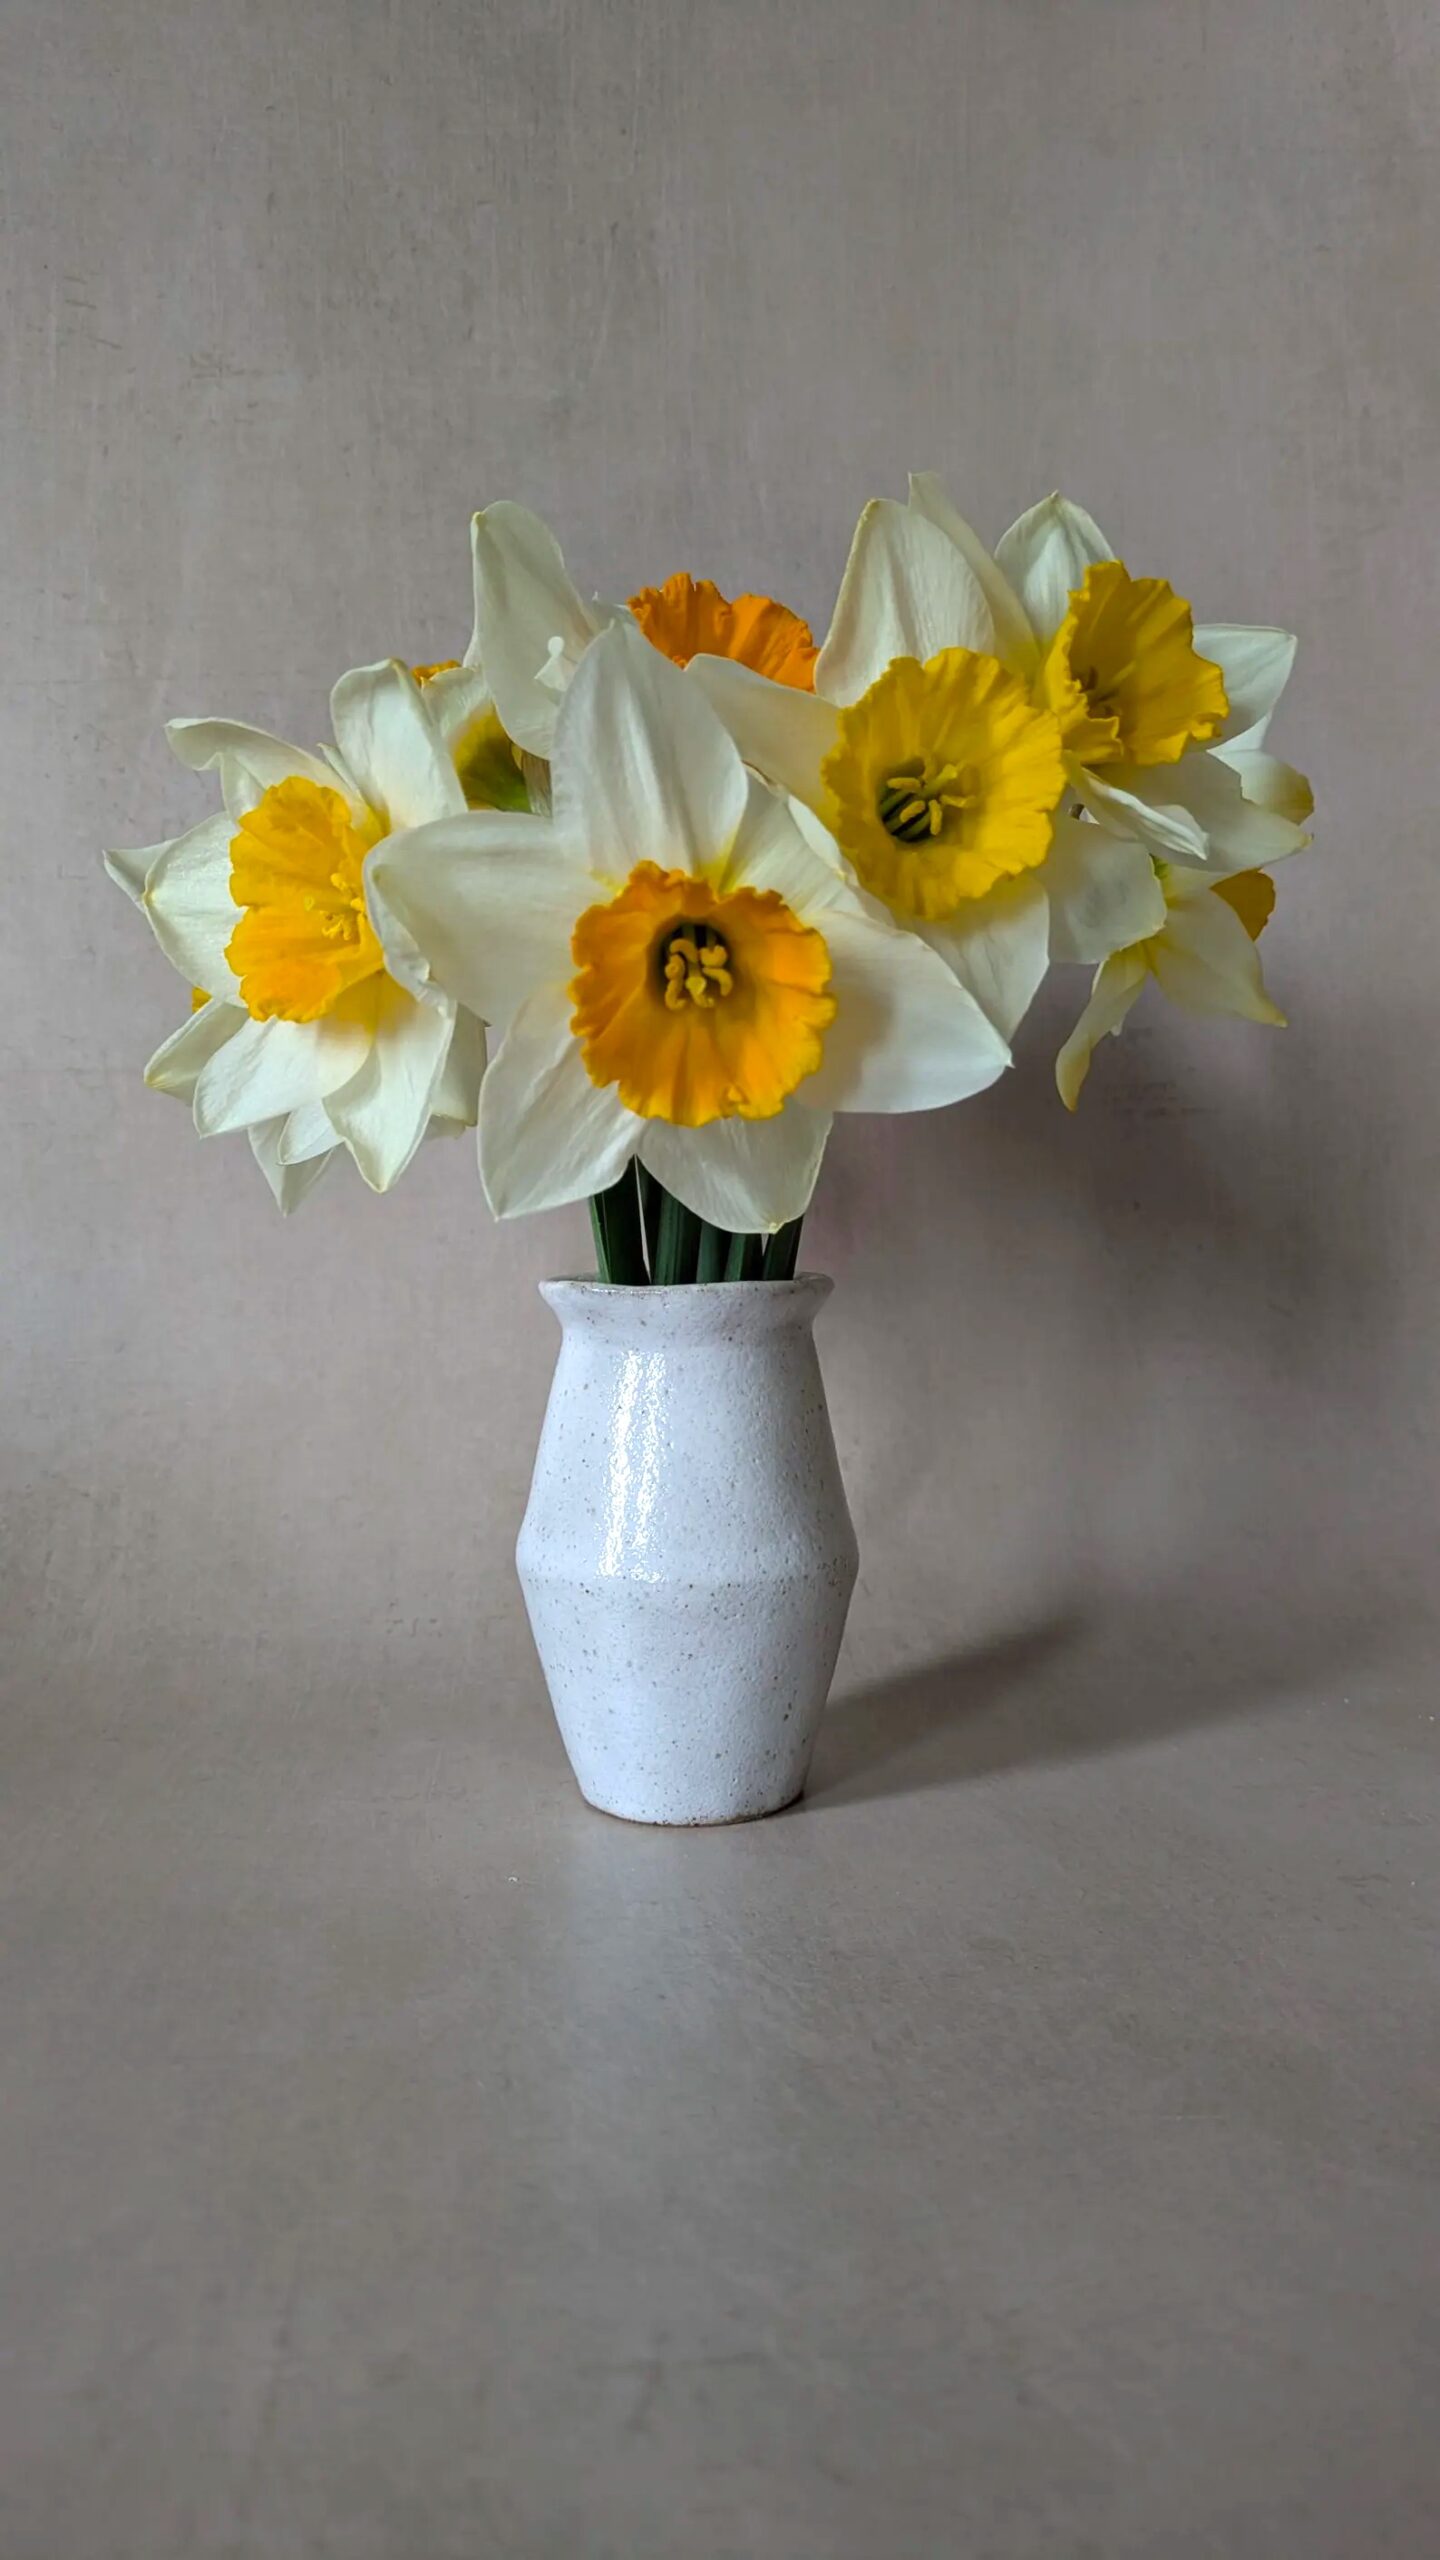
Roll a slab into a small cylinder or a narrow neck form. Try different glazes for each—these small pieces make great gifts or desk décor.
This one is a cute shape:
4. Slab Vase
Stack and join slabs vertically with a support structure inside. This excellent project helps you practice seams and thickness.
I really like the texture and simple shape of this slab built vase by Kaira of Firewood Pottery on Etsy:

5. Simple Bowl
A slab bowl is one of the most rewarding beginner pottery shapes. Drape your slab over a mould for a quick small bowl, or scale up to a fruit dish. It’s always bowl time!

I love this nest of bowls – get the template to make them on Etsy:
More advanced version of a bowl: this flower shaped one cut out from impressed flower-shaped fabric. It’s by @ceramicsbyjas on Instagram. Just lovely.
6. Practice Cylinder
If you’re considering a mini pottery wheel, a practice cylinder could be the perfect crossover project. Build a slab cylinder first, to get the feel of the shape, then try throwing one on the wheel.
7. Pinch + Slab Pot Combo
Pinch and slab pot combo is a ceramic hand-building technique where elements from both the pinch pot method, which starts with a ball of clay that is pinched to form a vessel, and the slab method, which uses flat sheets of clay, are combined to create a single pot. Combine a pinch pot base with slab sides. It makes an adorable little cup and helps you explore different ways to blend techniques.
This youtube tutorial is a really useful place to start:
8. Jewellery Trays
Roll out a slab, cut circular shapes with a cookie cutter, and curve the edges slightly. A personal touch like stamping or texturing makes them unique.
I’d love to create something organic and textural like this:

9. Salt Pinch Bowls
Small, shallow bowls are good options for storing seasoning such as salt or pepper. Use small ceramics techniques to practice even shaping.
I love the organic shape of these – and the pretty glaze colours which I know would require a kiln, so maybe I’ll just go for a simple unglazed organic shape for now…

10. Simple Mugs
Start with a flat base, add a slab wall, then attach a handle.
I like the textural, hand-shaped look of these mugs:

11. Espresso Cups
Test the classic espresso cup shape in slab form. These simple espresso cups are great for experimenting with new glaze combos.
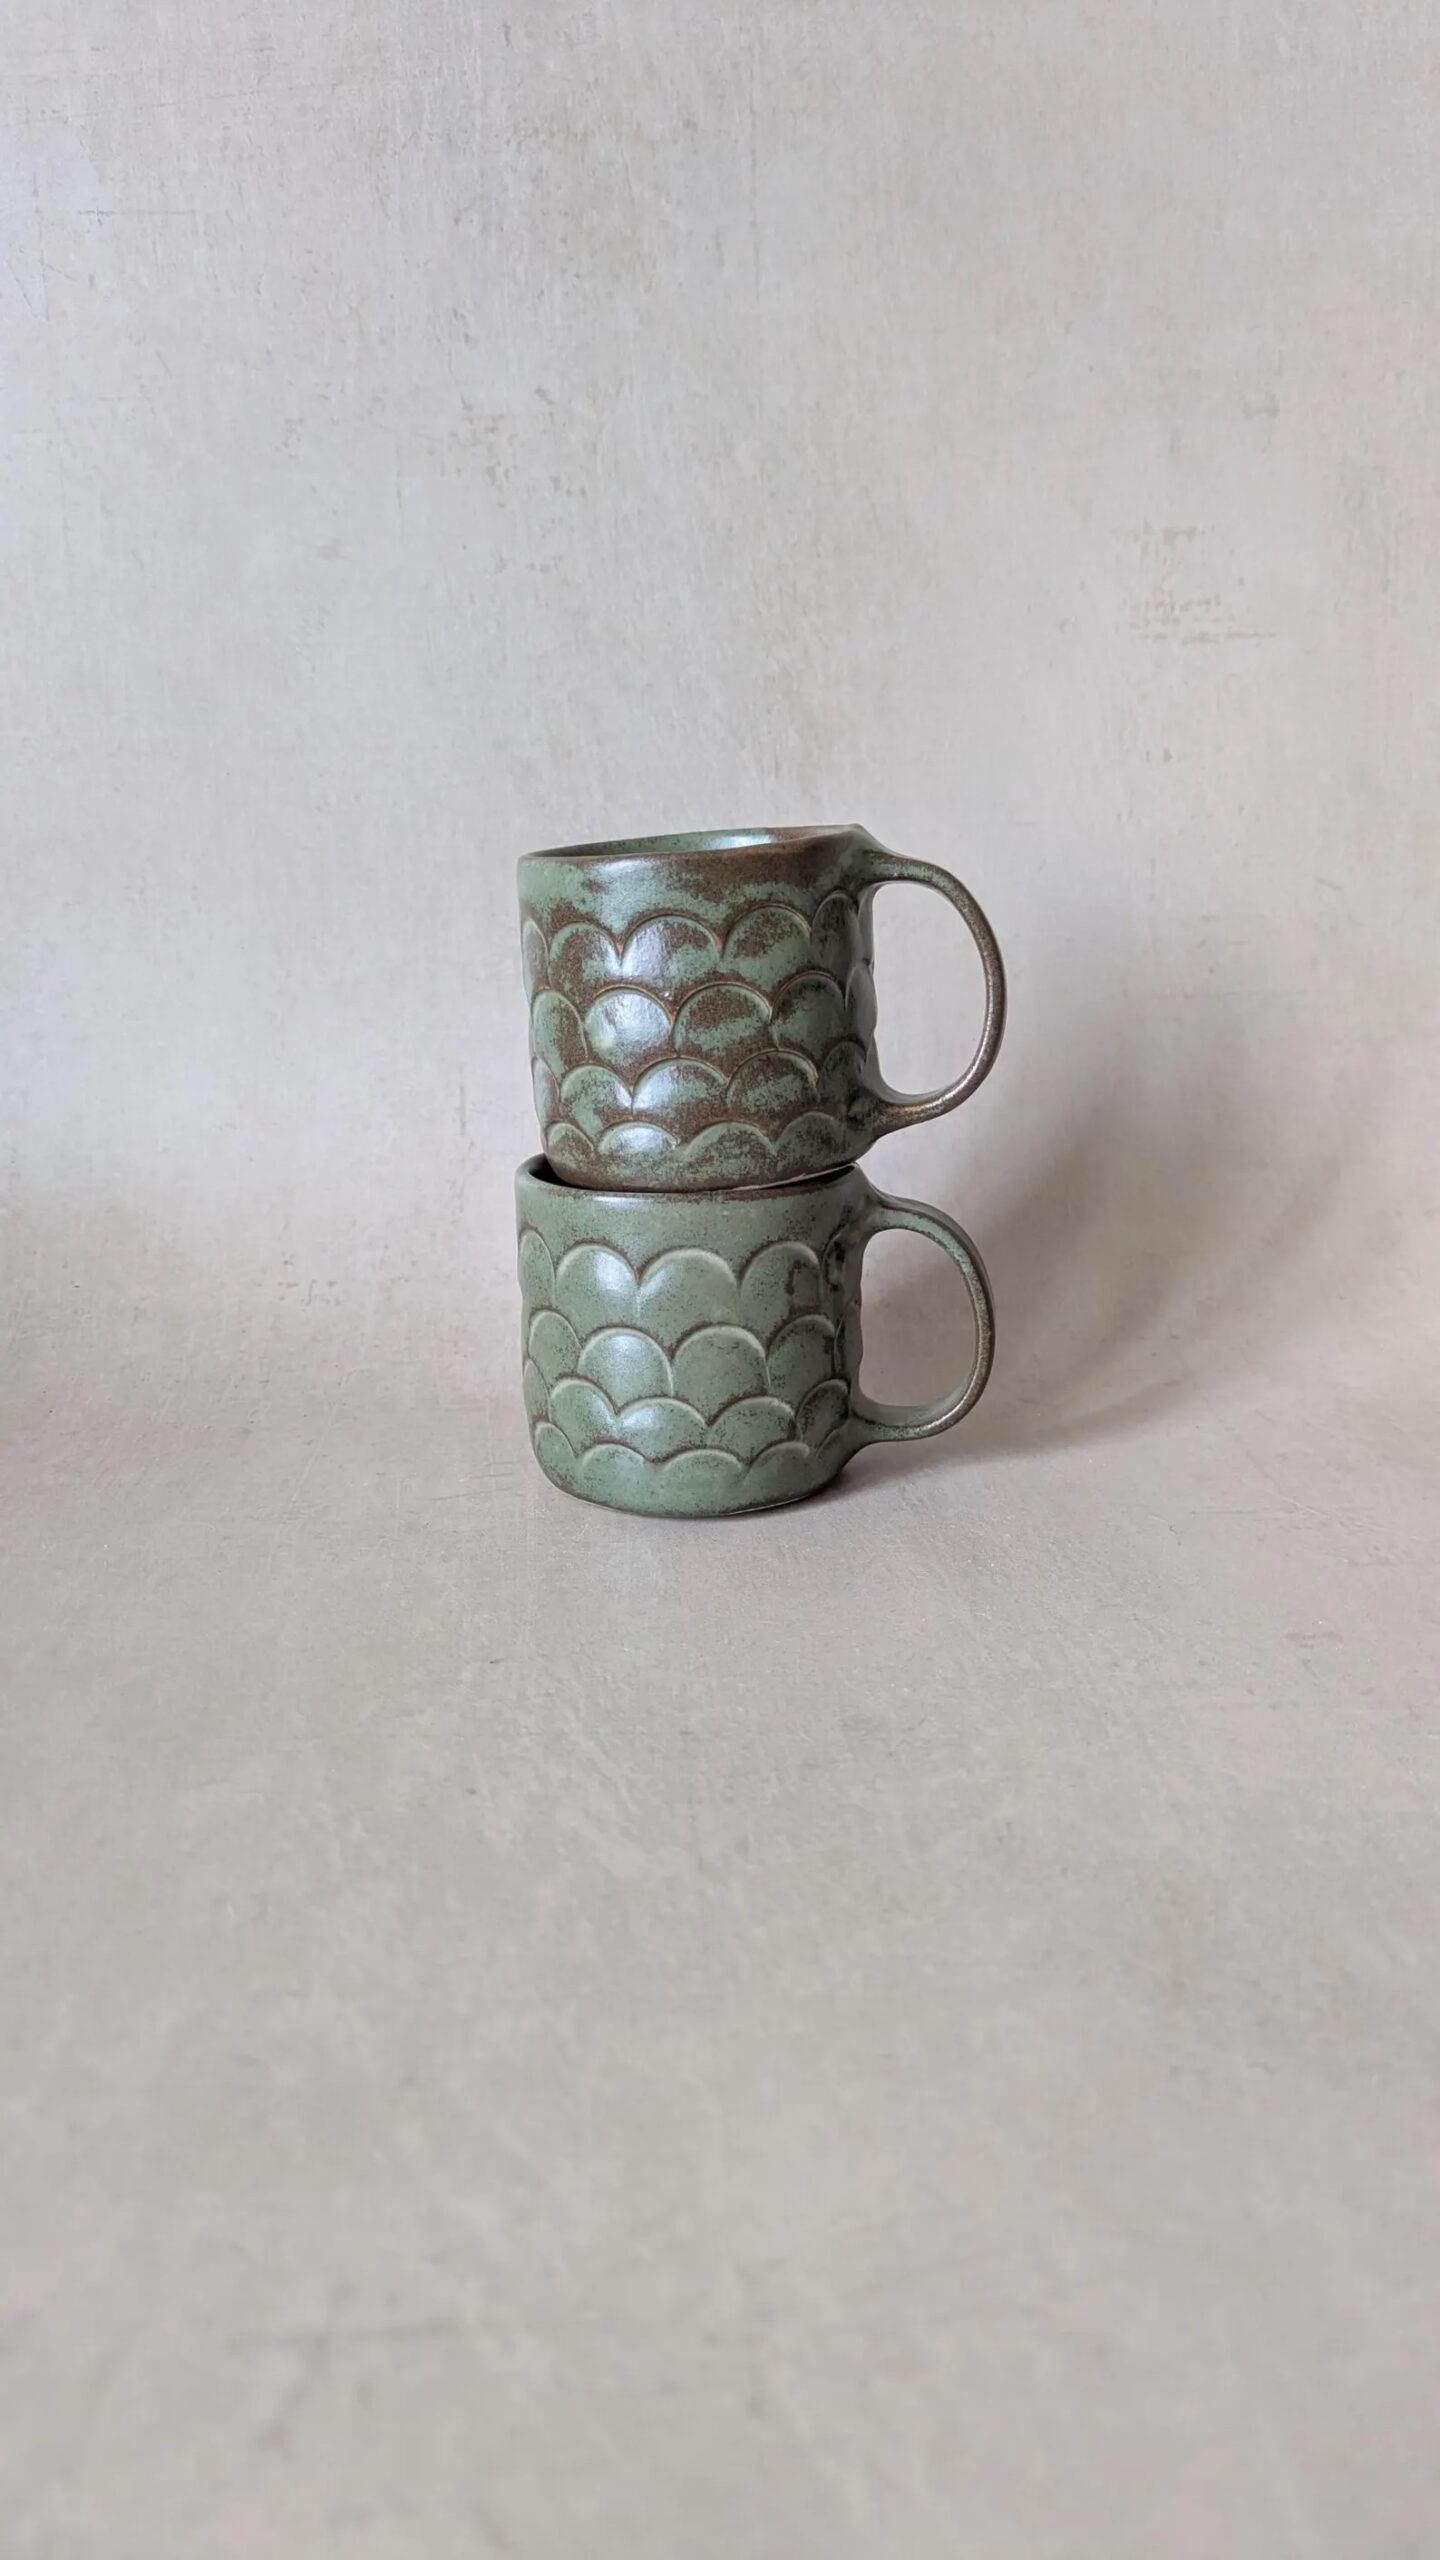
I really like how the glaze works with the scalloped texture impressed on the clay here… If you don’t have a kiln of your own, places that offer pottery workshops and classes will often offer space to fire up (and possibly also help you with glazing) your pieces in theirs.
12. Coffee Mugs
Bigger than espresso cups, coffee mugs are still approachable to make. This is a great next step once you’re comfortable with small forms.
These hand formed ceramic cups and saucers are right up my street

13. Closed Form sculpture
Join two slabs into a sphere-like closed form. It’s an excellent project that tests your seam work and is the perfect excuse to try sculptural pieces. Once you’ve mastered it, this technique allows for the creation of a variety of forms, such as jars, teapots, and decorative vases, with the final shape and smoothness achieved through careful smoothing of the joints and surfaces. A step too far for me right now, but one to aim for once I’m comfortable with the basics.
14. Pin Cushion Holder
Turn a slab bowl into a beautiful ceramic pin cushion holder by adding a cushion insert. A charming gift for sewists!
This is a cute idea – combining a flower shaped small bowl and tumble dryer wool ball for holding the pins

15. Spoon Rest
One of the most fun pottery ideas: cut a slab, curve it slightly, and carve out a notch for your spoon handle. This beauty looks to have been made using the coil technique.
16. Wall Art
Slabs are flat canvases. Create decorative clay pieces with carvings, patterns, or textures. Add new glaze combos or hang multiple for impact.
This set of wall hangings is so simple and so stylish!
17. Ceramic Clock
Attach a clock mechanism to a decorated slab. It’s a creative clay project that adds a personal touch to your wall.
I love the idea of impressing wild flowers into a slab of clay and adding a clock mechanism like this one
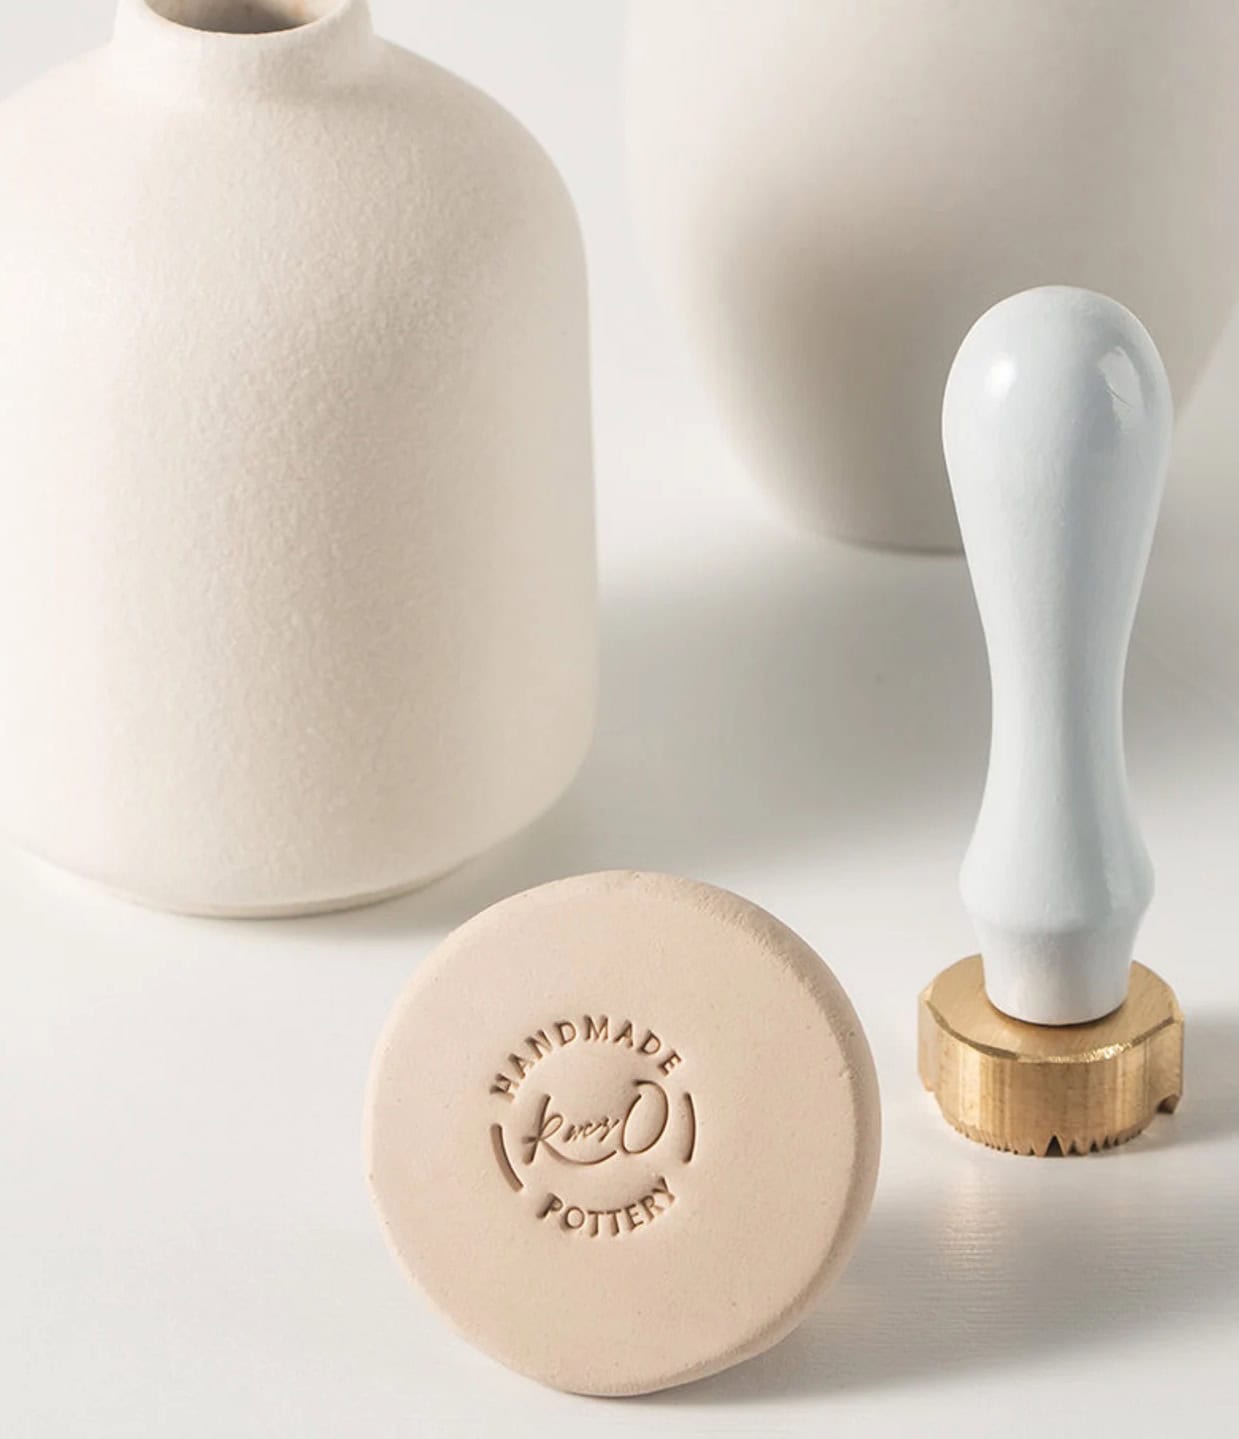
18. Stamp Pad
Finishing details make all the difference, so how about this adorable ceramic stamp pad for personalising your clay creations. A great thing for adding an individual and professional touch.
19. Butter Dish
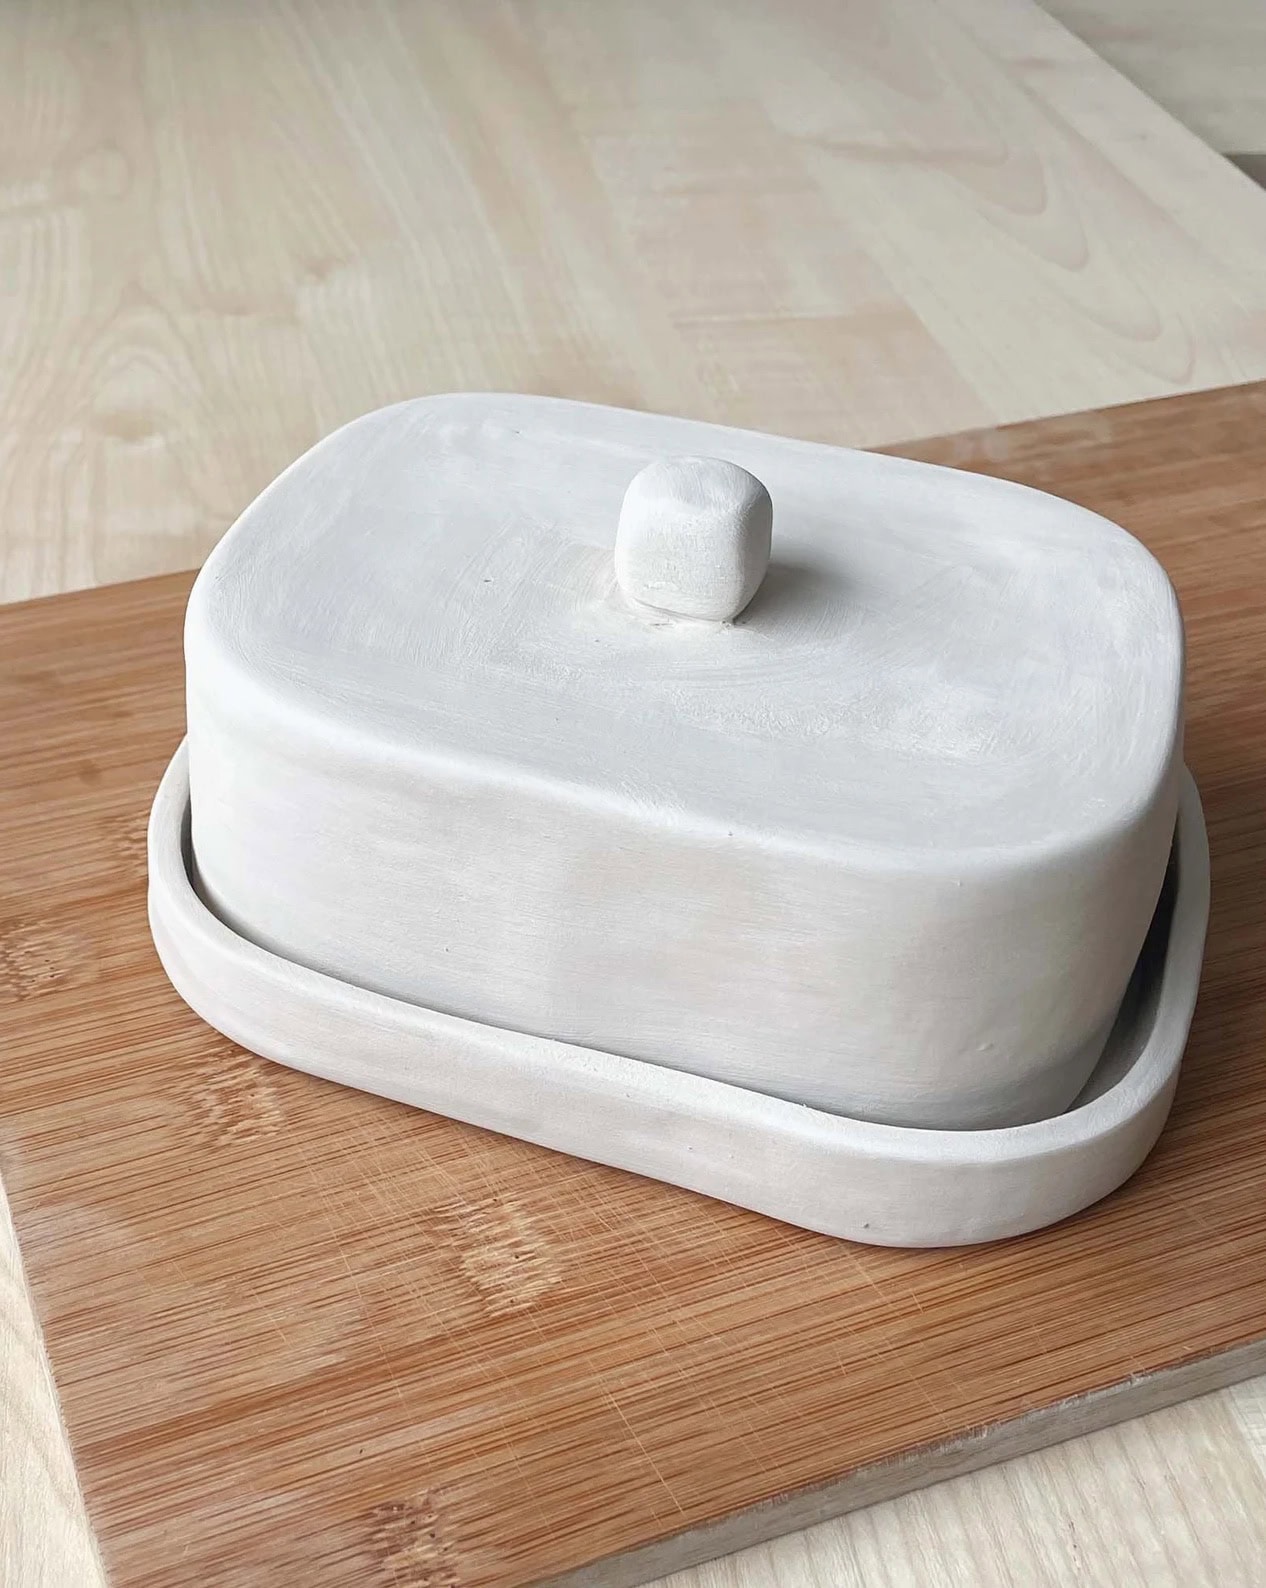
Try making a clever little ceramic butter dish (or butter keeper). This support structure project is more advanced but super practical. To make life easier, how about this helpful printable template?
20. Candle Holder
This kind of clay candle holder is perfect for slab building. It’s a great clay craft project or handmade gift idea that will hopefully be treasured – and enjoyed – for a long time. How cute is this design?

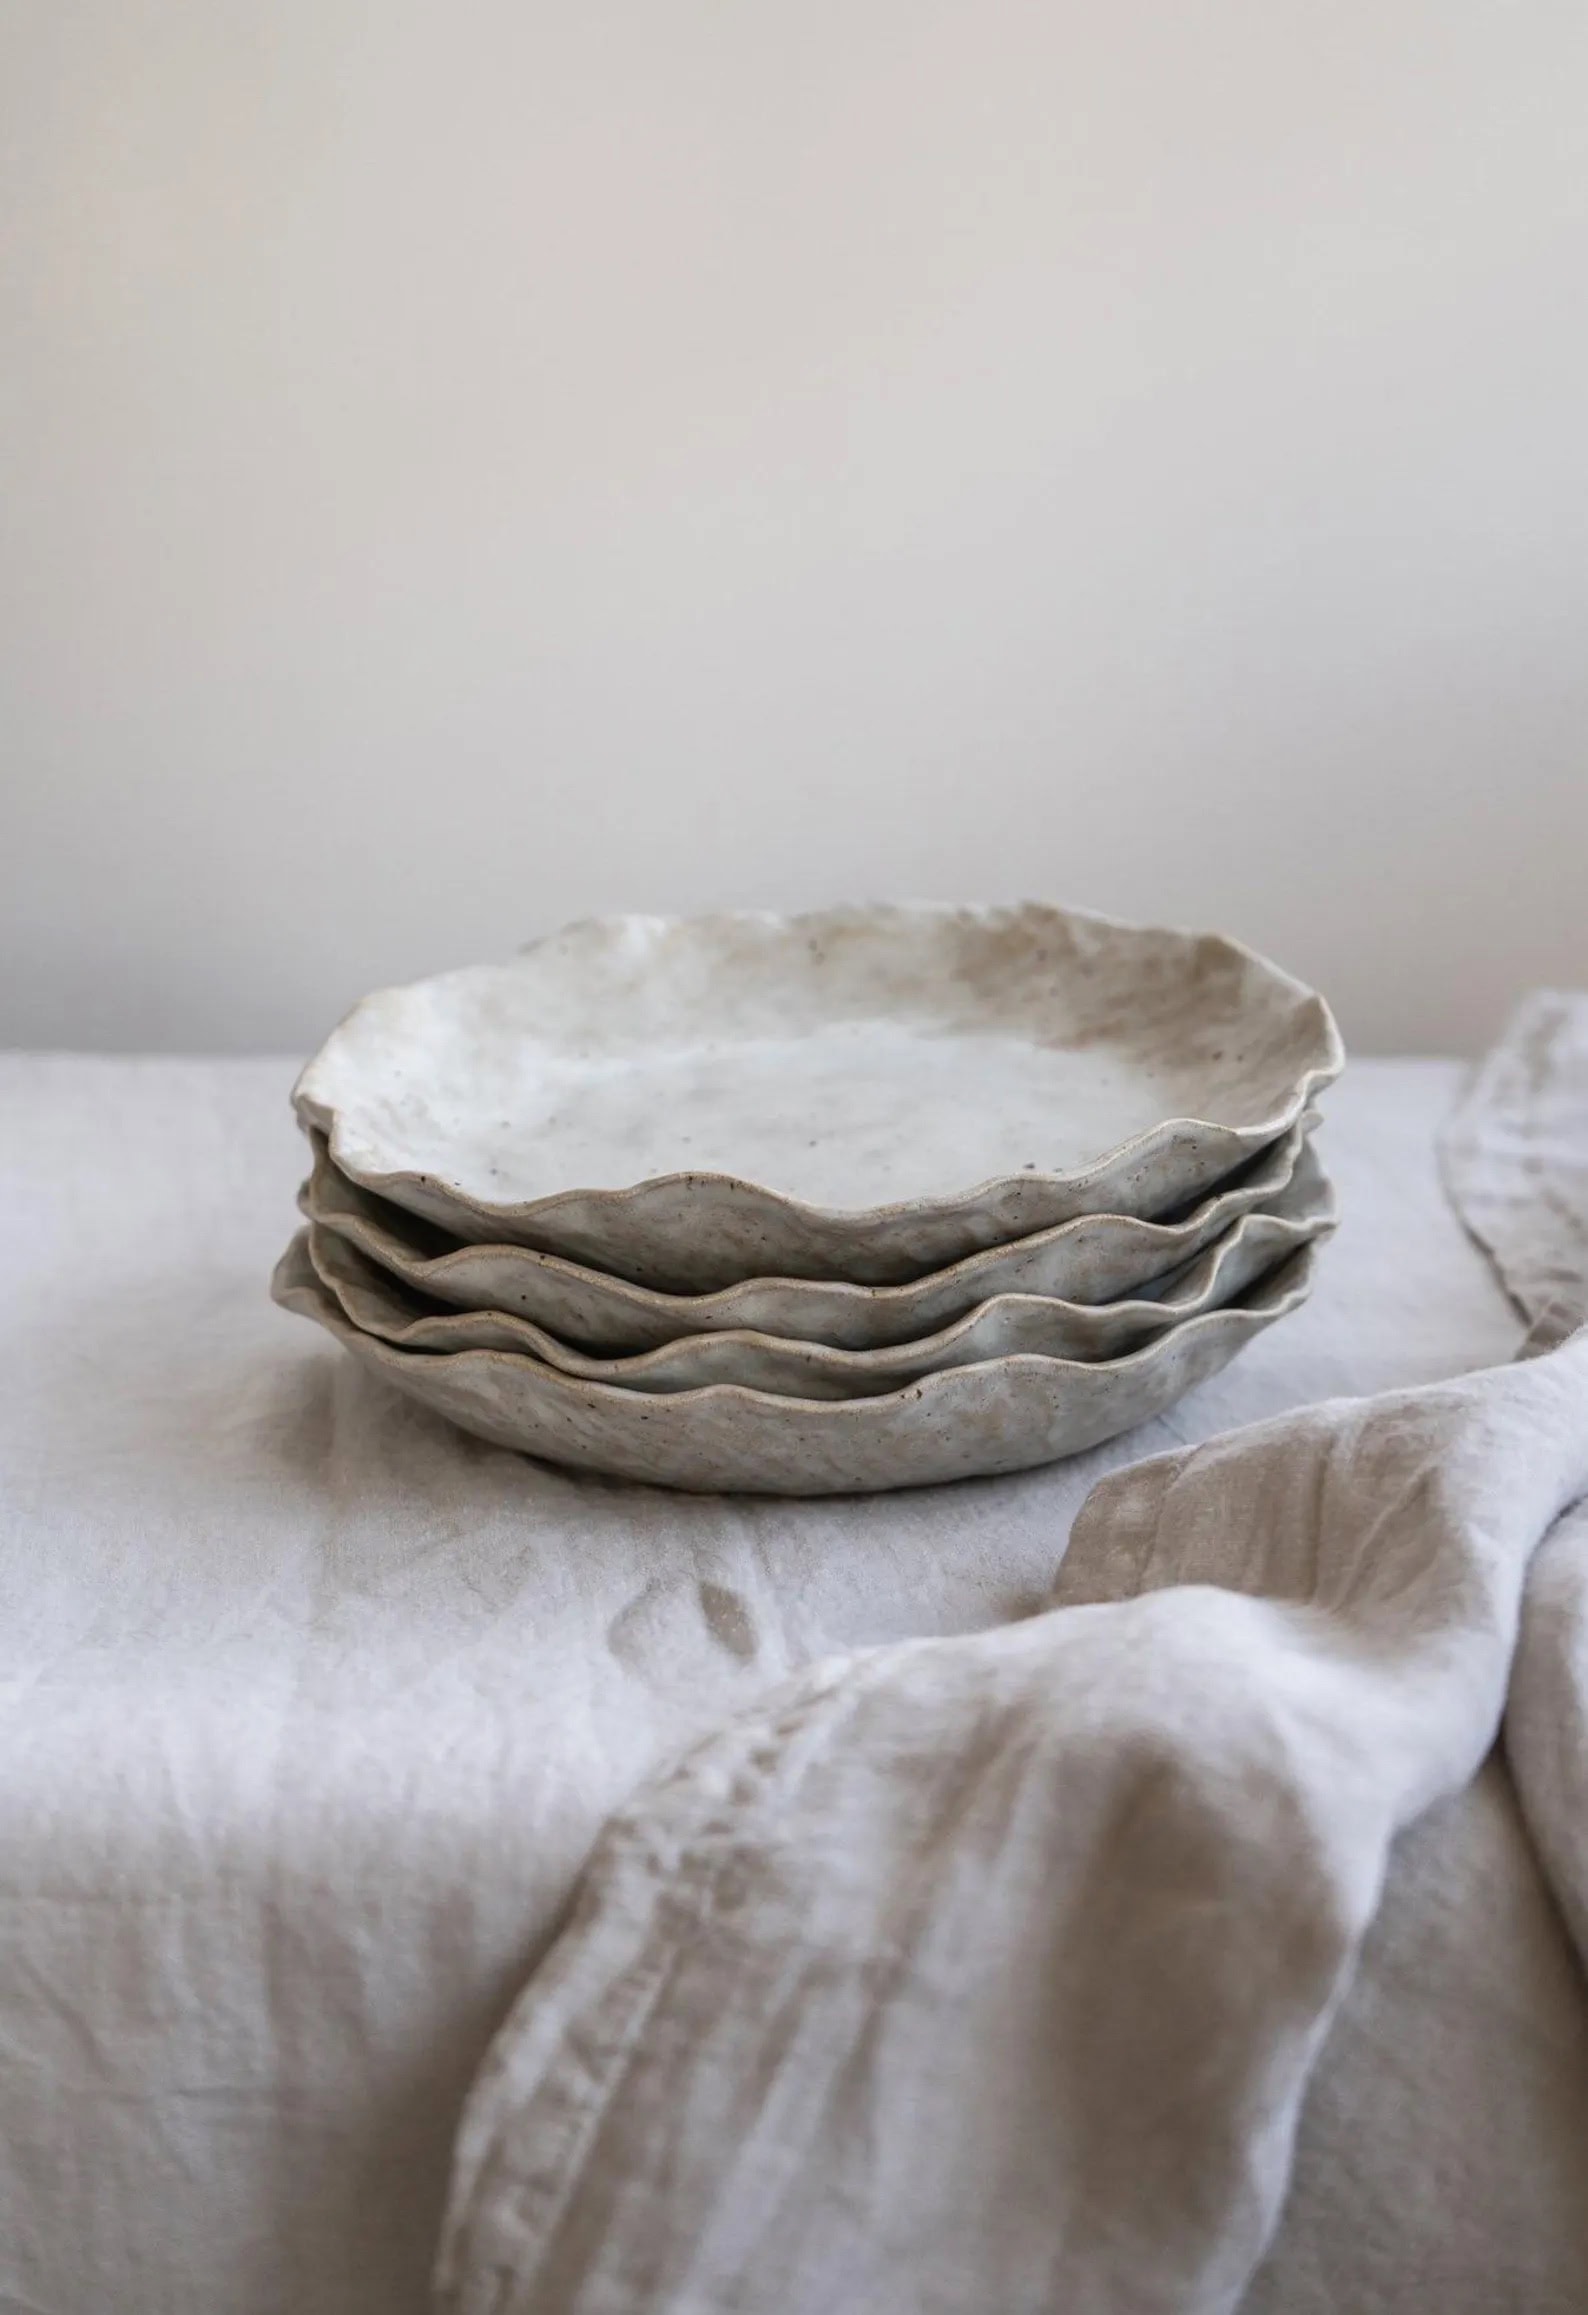
21. Little Bowls
Make several little bowls at once. It’s the easiest way to practice repetition and round shapes. I love the look of these fluted bowls
22. Lidded Forms
Explore lidded pottery forms using slabs. This is one of the most satisfying intermediate pottery projects once you’ve built confidence. This is another great template

23. Decorative Cups

Shape a small cylinder, attach a dainty handle, and you’ve got an adorable little cup. Add texture for a fun twist. Or how about this quirky flower shaped design like this one? It feels more like a piece of sculpture than something you’d drink your tea out of but looks fun to make…
24. Slab-Built Sculpture
Experiment with abstract circular shapes or a single piece slab turned into a decorative clay piece. A true creative clay project. How cute is this bird sculpture? Love how the little bird is perched on the perfect base…

25. Air-Dry Clay Practice
Not ready for a kiln? Air-dry clay is a useful way to practise slab-building at home without firing. It isn’t the same as kiln-fired pottery, but you can use it to experiment with simple forms such as bowls, trays and decorative pieces.
Tips for Success
- Start small: Focus on small base projects like trays or cups before tackling larger pieces.
- Mind the drying process: Cover your clay between steps and let it dry evenly; rushing the drying process can lead to cracks.
- Experiment with glazes: Different glazes or new glaze combos can transform even the simplest form.
- Repeat the basics: Making little bowls over and over is the building block for confidence.
- Be patient: Getting comfortable with rolling, cutting and joining slabs takes practice. Once you’re confident with hand-building, you can try wheel throwing if you’d like to explore another pottery technique.
Step-by-Step Beginner’s Guide to Slab Pottery
Working with slabs is all about mastering a few hand-building pottery techniques. Once you know how to roll, cut, and join a slab of clay, you can make almost anything on the list of pottery ideas. Below is a simple step-by-step guide to get you started.
Step 1: Prepare Your Clay
- Wedge your pottery clay by kneading it to remove air bubbles.
- Keep your clay moist—cover any small pieces you’re not using yet.
Step 2: Roll Out a Slab
- Use a rolling pin or simple tools to flatten your clay.
- Aim for an even thickness appropriate to the project. Smaller pieces generally need less clay than larger structural forms.
- You’ve now got a clay slab ready to shape.
Step 3: Cut Your Shape
- Use a knife or cookie cutter to cut your slab into circular shapes, rectangles, or custom outlines.
- These will form the flat base or walls of your project.
Step 4: Form the Clay
- For a softer slab, gently bend it over a mould, such as a bowl, or shape it by hand. If you’re building a more structured form, allow the clay to firm up enough to hold its shape before assembling the walls.
- For a dry slab, wait a little so it stiffens, then assemble into walls for things like mugs or boxes.
Step 5: Score and Slip
- When joining two slabs (like walls to a flat base), roughen the edges with a fork or scoring tool.
- Score the surfaces you want to join, then apply slip to the scored areas. Press the pieces together firmly and smooth or compress the joint.
Step 6: Add Details
- Attach a dainty handle, carve patterns, or press textures into the surface.
- This is where you add a personal touch or try creative ways to decorate.
Step 7: Dry Slowly
- Cover the piece loosely with plastic so it dries slowly and evenly. Uneven or rapid drying can cause cracks, particularly where pieces of different thicknesses meet.
- Too fast = cracks. Think of it as giving your clay a support structure until it’s ready for the kiln.
Step 8: Fire and Glaze
- If you’re using kiln-fired clay, the piece is usually bisque-fired first, then glazed and fired again. If you’re using air-dry clay, there is no kiln firing; follow the manufacturer’s instructions for drying, painting and sealing.
- Test different glazes and new glaze combos—sometimes the most fun pottery ideas come from experimenting.
Once you’ve practised these steps with simple projects such as bowls, soap dishes or mini vases, you’ll have a better feel for working with slabs. If you enjoy hand-building, you can gradually take on more ambitious forms such as lidded pots, closed forms and sculptural pieces. Or, if your taster session has inspired you to try the wheel, you can explore wheel throwing next. Or dip in and out of the two types of pottery as I do. Wheel throwing is physically demanding and challenging and there’s a gentle, calm creativity to slab building that I also love.
Final Thoughts
Slab pottery is more than just a beginner’s technique—it’s a satisfying process that offers both functional and decorative results. From soap dishes to wall art, every project teaches you something new and it’s a forgiving craft – it’s easy to make a small adjustment as you go – or start over.
These 25 beginner pottery projects are a chance to experiment with clay without needing to start on a wheel. From simple soap dishes and bowls to more ambitious sculptural forms, each project gives you another way to practise shaping, joining and finishing clay.
Whether you’re preparing for your first pottery taster session or simply looking for an enjoyable clay project to try, slab building is a satisfying and highly creative place to start.
Frequently asked questions about slab pottery
What is slab pottery?
Slab pottery is a hand-building technique where clay is rolled into flat sheets, then cut, shaped and joined to create functional or decorative ceramic forms.
Do you need a pottery wheel to make slab pottery?
No. Slab pottery is a hand-building technique, so you can make slab-built forms without a pottery wheel.
Can beginners use air-dry clay for slab pottery?
Yes. Air-dry clay can be useful for practising slab-building techniques at home without a kiln. It behaves differently from kiln-fired clay, so follow the manufacturer’s instructions for drying, painting and sealing.
Information
Find inspiring UK Makers in our directory
This article contains some affiliate links, which means we may earn a small commission if a reader clicks through and makes a purchase. All our blog posts are independent and in no way influenced by any advertiser or commercial initiative. By clicking on an affiliate link, you accept that third-party cookies will be set.


Leave a Reply