
How to make embossed silver rings
This month craft journalist Clare Kelly spent an evening at The London Jewellery School in Hatton Garden learning how to make embossed silver rings.
The London Jewellery School is a bit of a hidden gem – if you’ll excuse the pun. Slightly off the beaten track in London’s famous jewellery quarter, it’s the place to go if you want to learn how to make professional quality jewellery. But it’s not just for the experts… as I discovered, anyone can learn how to make rings – stunning silver ‘spring ring’ to be exact – in just two-and-a-half hours.

How to make make embossed silver rings
On arrival we were each seated at a jeweller’s workbench and introduced to the tools of the trade. They were similar to those I’d used in metalwork classes back at school, but I have to admit to feeling a bit nervous. I hadn’t been particularly good at this type of activity when a student so what I would be leaving with was anyone’s guess. Thankfully, our tutor Michelle Leaver, an experienced jeweller, was confident that we would all be taking home a beautiful handcrafted silver ring at the end of the evening; something that would surely be treasured for many years to come.

The first step in learning how to make embossed silver rings is to take a strip of sterling silver sheet and cut it to the correct size for our finger. Scissors of course were not an option and after marking the place with a scriber, a piercing saw was used to cut the silver (below, right). This was quite a tricky and delicate process where full concentration was required.

Heating the metal
At this stage, the silver was too hard to be manipulated and so Michelle taught us how to heat the metal to make the process easier – this is called annealing and is undertaken with a gas torch – very carefully of course! Working with silver is very physical so don’t be surprised if you feel like you’re burning a few calories too.
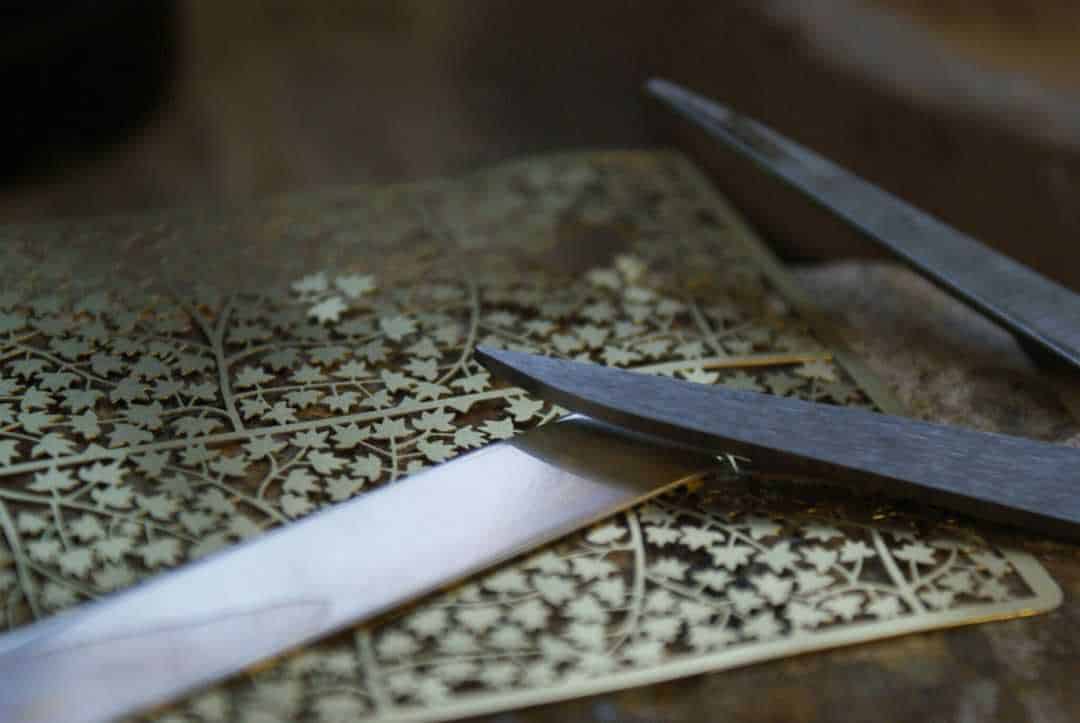
Once the metal is softened, it will not return to its hardened state on its own, making it much easier to create textures. Michelle introduced us to the rolling mill, a device that is used to apply texture to the silver. I opted for a small leaf pattern which was etched onto brass sheets and placed over the sheet silver before being fed through the mill at an exact pressure – not too hard and not too soft (I may have learnt the hard way!).

Adding texture
Adding texture is a fantastic way to personalise your ring and this can be further enhanced with the use of letter stamps, punched into the metal with a mallet. Annealing the silver will make it softer but it will still be too rough around the edges and the only way to tackle this is with a file, and as with your nails there are different types of files for different jobs.
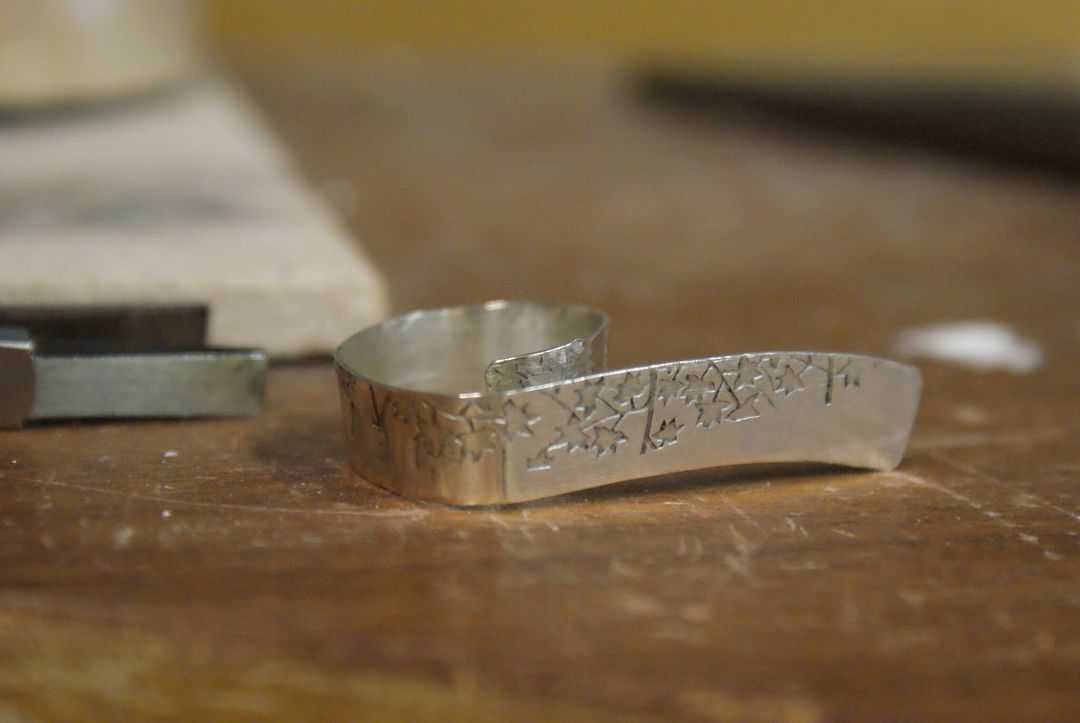
After filing it was then annealed again before being polished with tripoli (above, right) a brown waxy substance that takes away any ridges and is then removed with the aid of a little washing-up liquid. The silver is then finished with a rouge polish, which is really enjoyable as you get to see your design in all its shiny glory.

Resisting the urge to show it off prematurely, there was just a short time left to shape the ring to fit, firstly using a pair of round-nosed pliers to curl the silver, then a leather mallet and a mandrel to form the final shape.

Leaving with a fully formed ring, I felt extremely proud of my achievement. This taster class gave me the opportunity to learn some new skills that I would have been too nervous to try out on my own, while giving me an insight into the world of silversmithing – beyond the jeweller’s window.
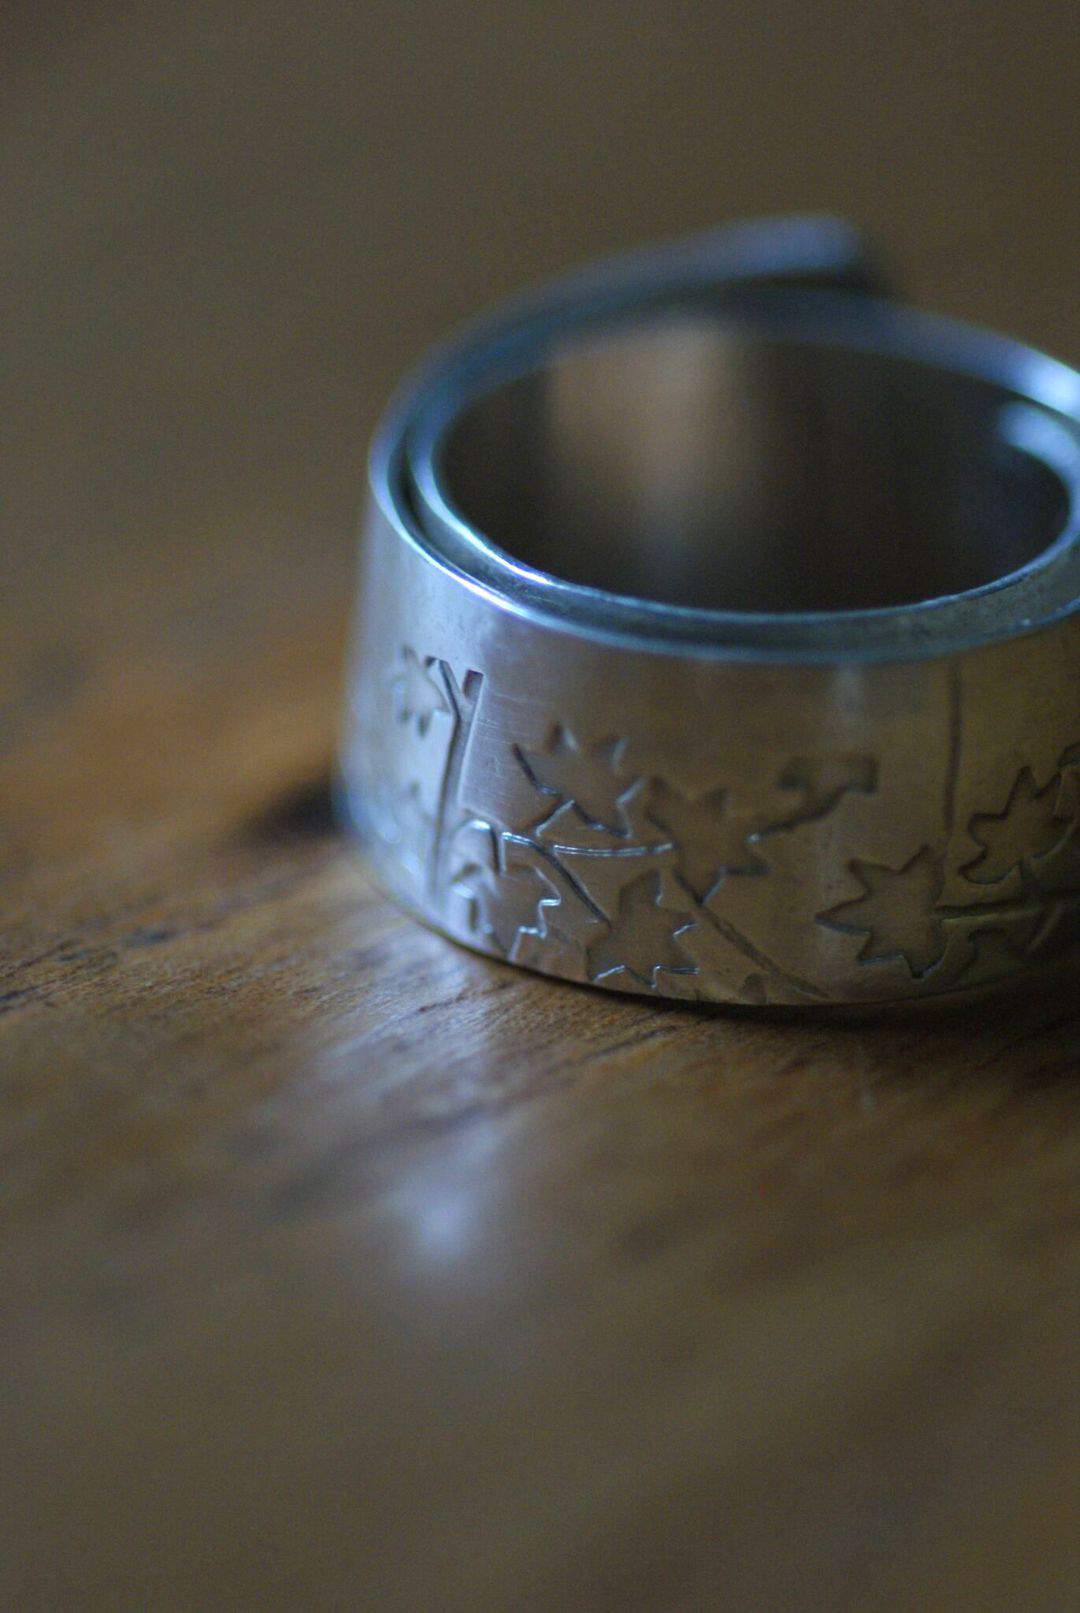
The finished result
What do you think? I can’t quite believe it was me that made it.
INFORMATION
Hope you enjoyed learning how to make embossed silver rings. Feeling inspired? Take a look at the Creative Workshops category in our Directory, where you’ll find a variety of inspiring courses, from art and crafts to fashion and beauty, interiors, cooking and flower & gardening.
Clare Kelly is a freelance craft journalist. All images courtesy of Clare Kelly. Find more creative inspiration on our Pinterest boards: https://www.pinterest.co.uk/britainwithlove/
If you run a creative course that would interest our readers, please get in touch. Email us at editor@frombritainwithlove.com
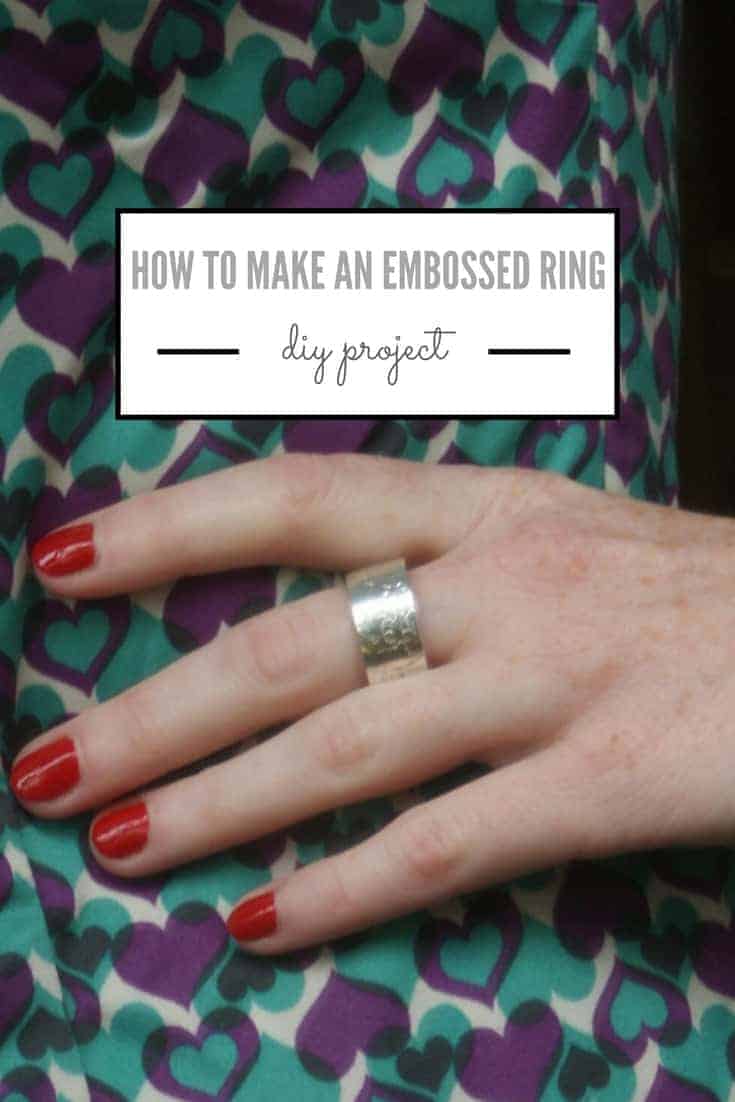
A pin to share to Pinterest


Leave a Reply