
Easy tie dye patterns, shibori techniques and ideas
My first real tie-dye project was a sizeable man’s vest I transformed to wear at a Bob Dylan concert one sunny summer day back in 1984. Back then, I still harboured hopes of one day becoming the next Mrs Dylan, and I am certain that the tie dye vest felt potentially pivotal. It was a plain white cotton M&S number that I had great fun tying up with elastic bands in concentric circles before dyeing it a deep coral pink. I defy anyone not to feel a thrill as you sploosh your garments around in buckets of your chosen colour, before unwrapping and untying to reveal the pattern you’ve created. I wore my tie-dye creation with pride, layered over multiple other vests (that actually fitted me) in true 80s style with SO many bangles on my arms that I jangled as I moved and a wide belt slung around my hips (to hitch up the vest and stop it totally swamping me).
Bob Dylan holding my gaze…
There was a moment during Visions of Johanna where I could have sworn Bob actually caught my eye and held my gaze. I *may* have started to scream a little bit at that point, before reminding myself that I was eye-balling the great man through powerful binoculars from far, far away. I was forced to accept that with a good 10 thousand people or more between us, even the brightest of bright tie dye vests wasn’t going to catch Bob’s attention. Probably for the best in hindsight… as I was way too young and I am certain my bangles would have infuriated him.
Fast forward a few decades from that first time tinkering with tie dye and I’m heading to the Cotswolds for round two. Fabric designer Vanessa Arbuthnott and her daughter Flora had kindly invited me to a shibori indigo dye workshop at their studio near Cirencester. The blissful day I spent with them there took my understanding of – and love for – resistance dyeing to a whole new level.
5 key takaways
1 Resistance dyeing creates patterns by keeping fabric areas away from dye through tying, clamping, stitching, or folding techniques.
2 Fibre-reactive dyes such as Procion bond directly with fabric fibres and produce more permanent, colourfast results than all-purpose dyes.
3 Shibori is a traditional Japanese tie-dye technique that uses various binding methods including hand-tying sections of fabric to create intricate patterns.
4 Pre-soaking fabric in soda ash solution before dyeing brightens colours and helps fibre-reactive dyes bond permanently with natural fibres like cotton, linen, and hemp.
5 The curing process requires leaving dyed fabric wrapped in plastic for 8-24 hours, with longer curing times producing more intense colours.

Read my write up about the whole day: https://www.frombritainwithlove.com/shibori-indigo-dye-workshop-with-flora-arbuthnott/

Tie dye patterns, shibori techniques and ideas
For our purposes here, I’ve also distilled the key tricks and tips I learned that day for creating patten, using resistance and dye to share with you. We were encouraged to experiment with easy tie dye patterns using pegs, string, buttons, clamps and folding. If you fancy the idea, I’d urge you to just have a go and see where it takes you.
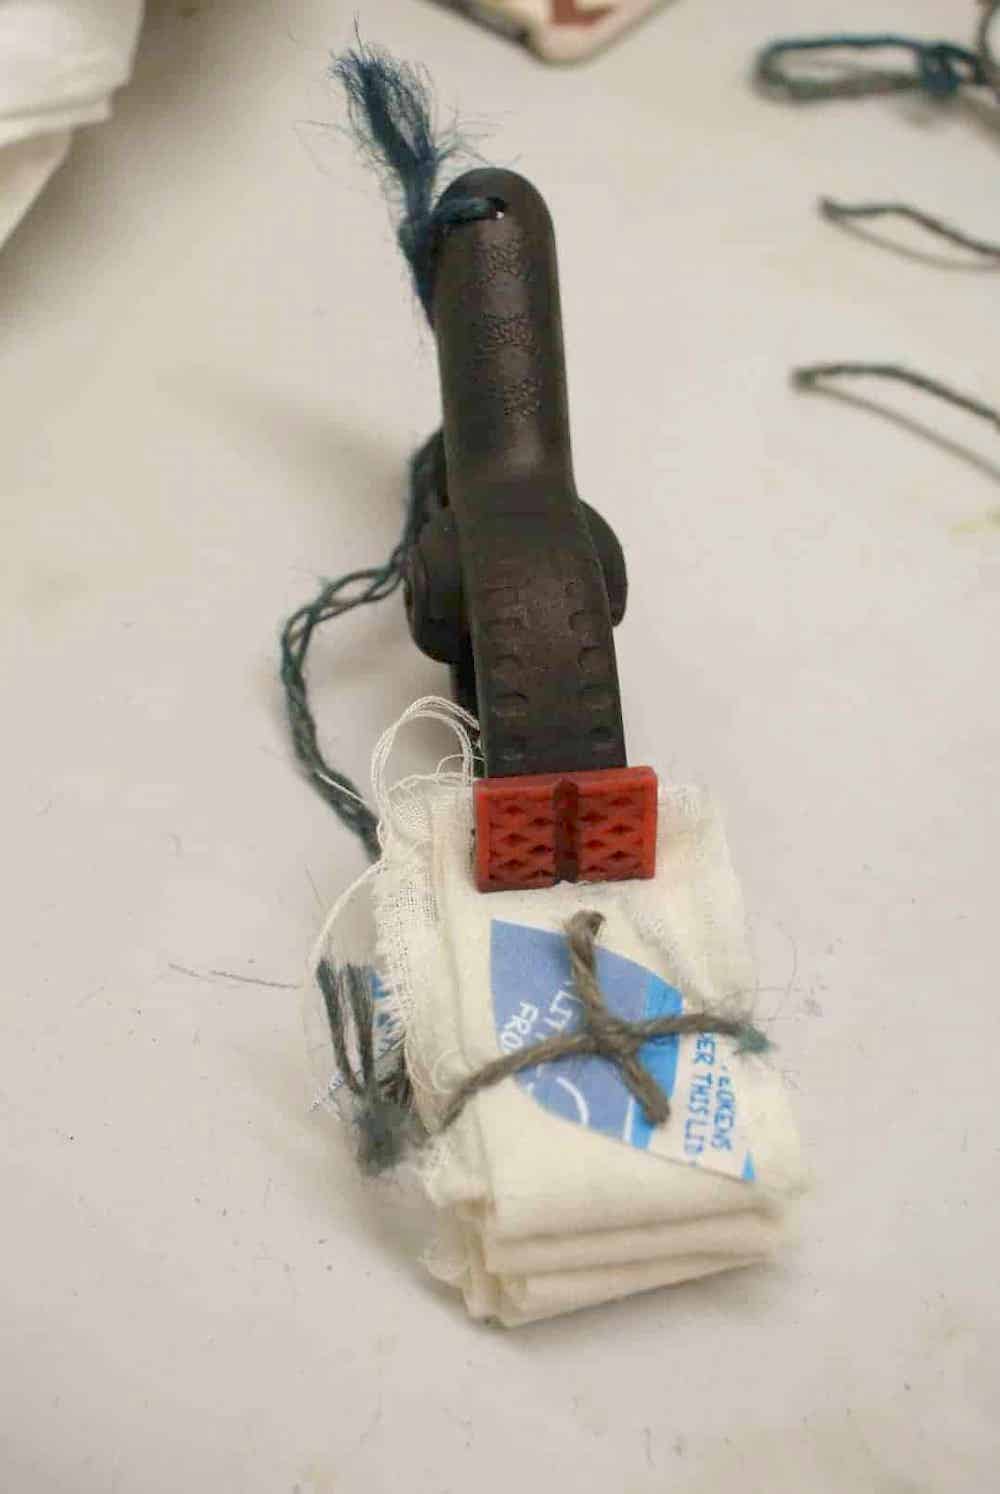
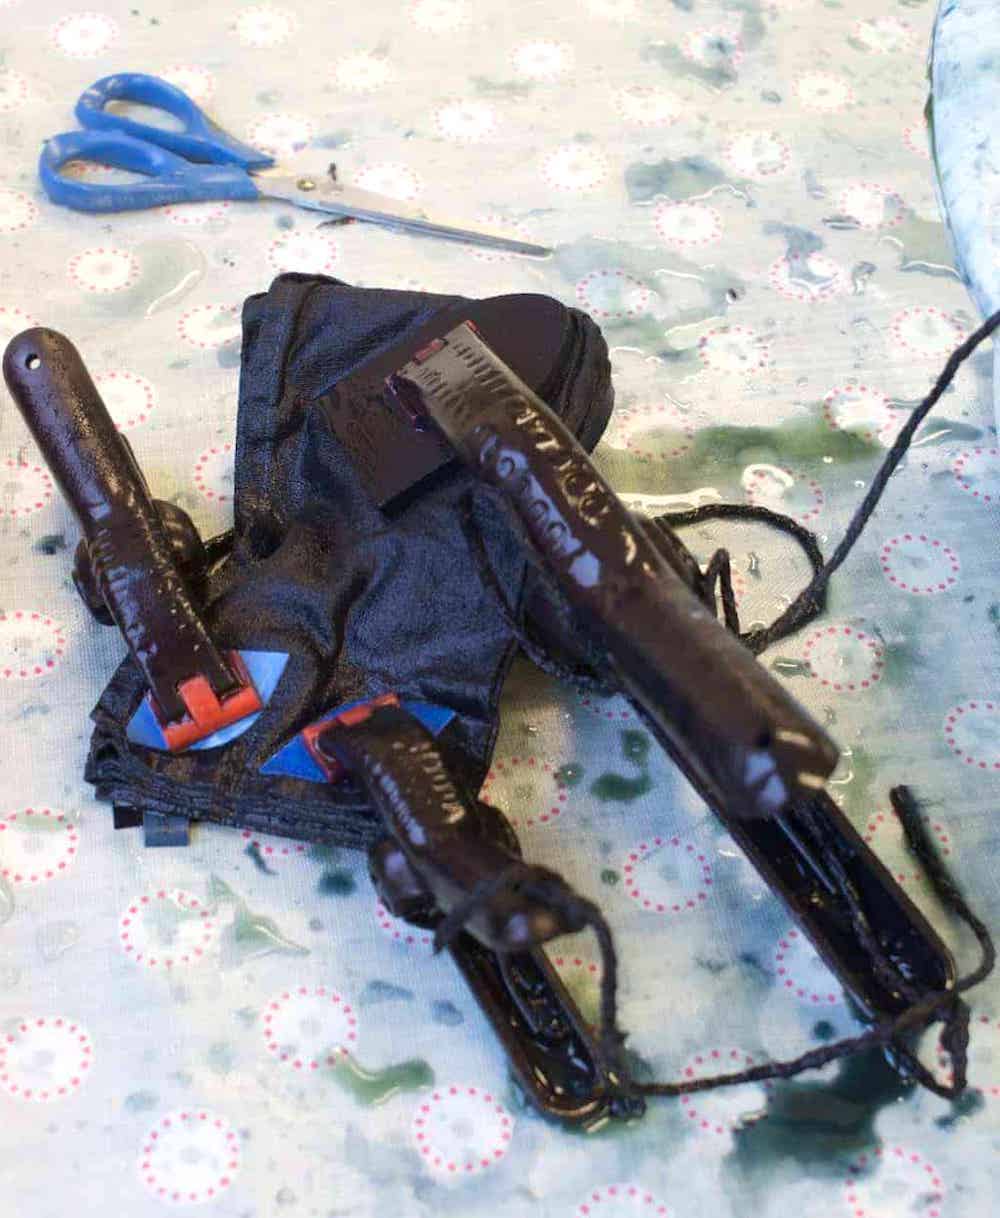
It’s all about keeping the starting base white/pale areas away from your dye by creating resistance. First technique we tried at the workshop was to concertina the fabric and then fold and clamp it, using wooden or plastic shapes to create pattern. The shapes provide resistance to the dye as it makes its way through the layers of fabric. Margarine tubs are great for cutting out shapes to create patterns and clamp to the material. I made a petal shape, which worked well. The darkest folds would be the outer layers while the faintest would be those in the middle. This is because the dye has further to penetrate into the deeper layers.
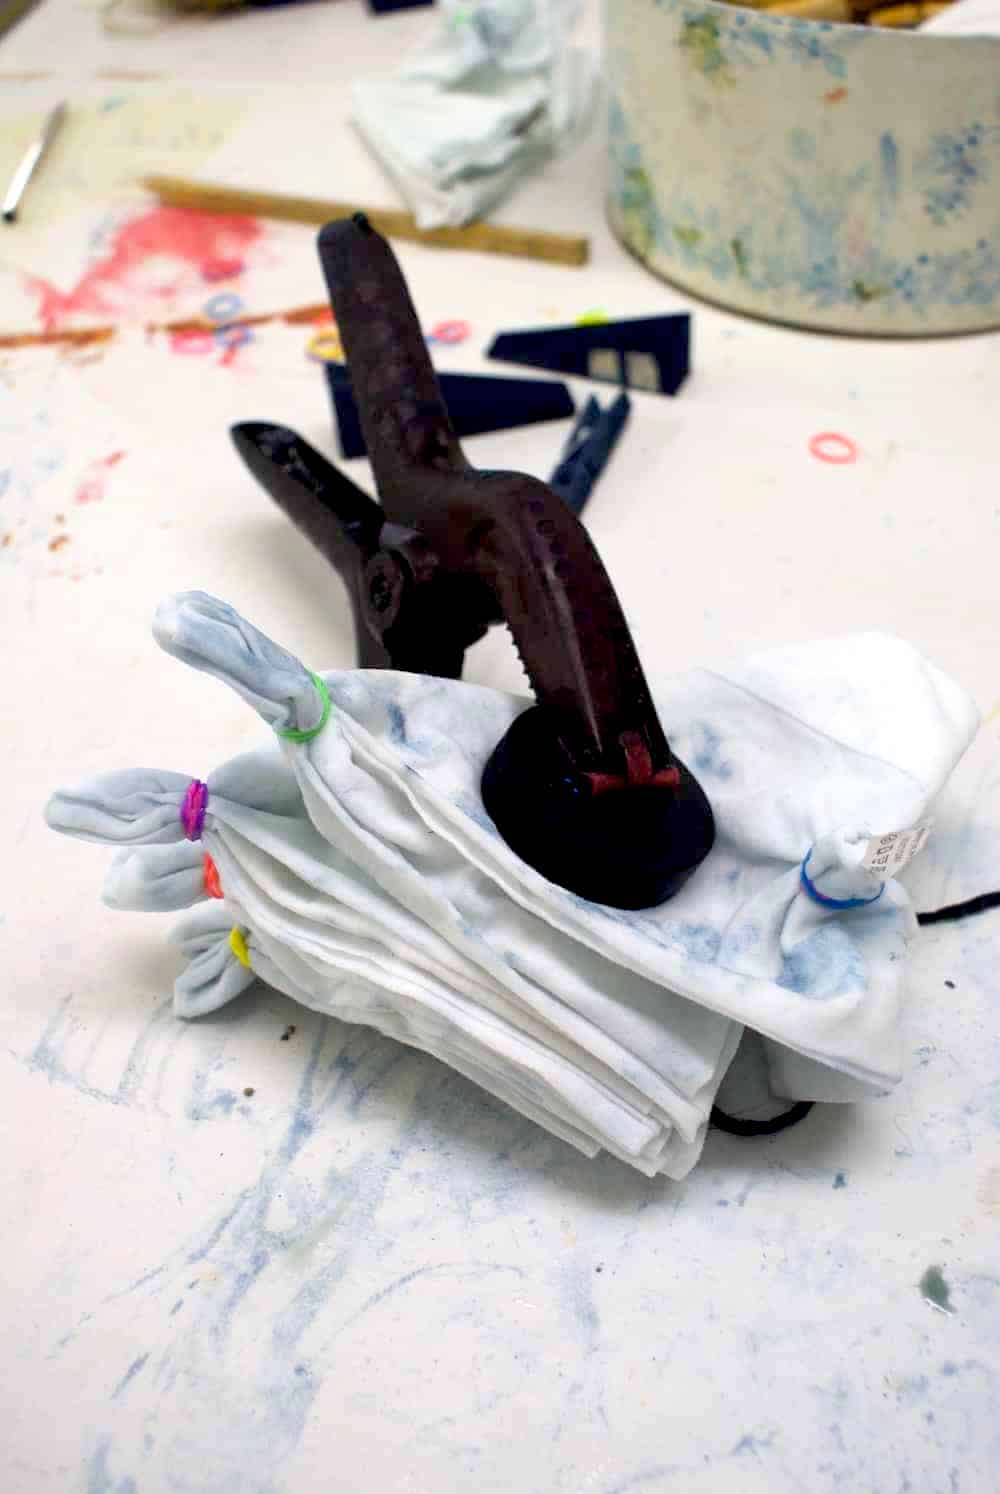
To achieve a line effect, pleat the fabric and add running stitch where you’d like the lines to go. Create circles by tying bands or string around beads or buttons. To create concentric rings, just tie in multiple ties further out around the same button/bead. Stitching in clumps can also create interesting patterns, as can simply tying sections with string.
Shibori
I was particularly inspired by the different patterns created by the traditional Japanese shibori technique. Find more details about the history and variations of shibori dye here: https://craftatlas.co/crafts/shibori)
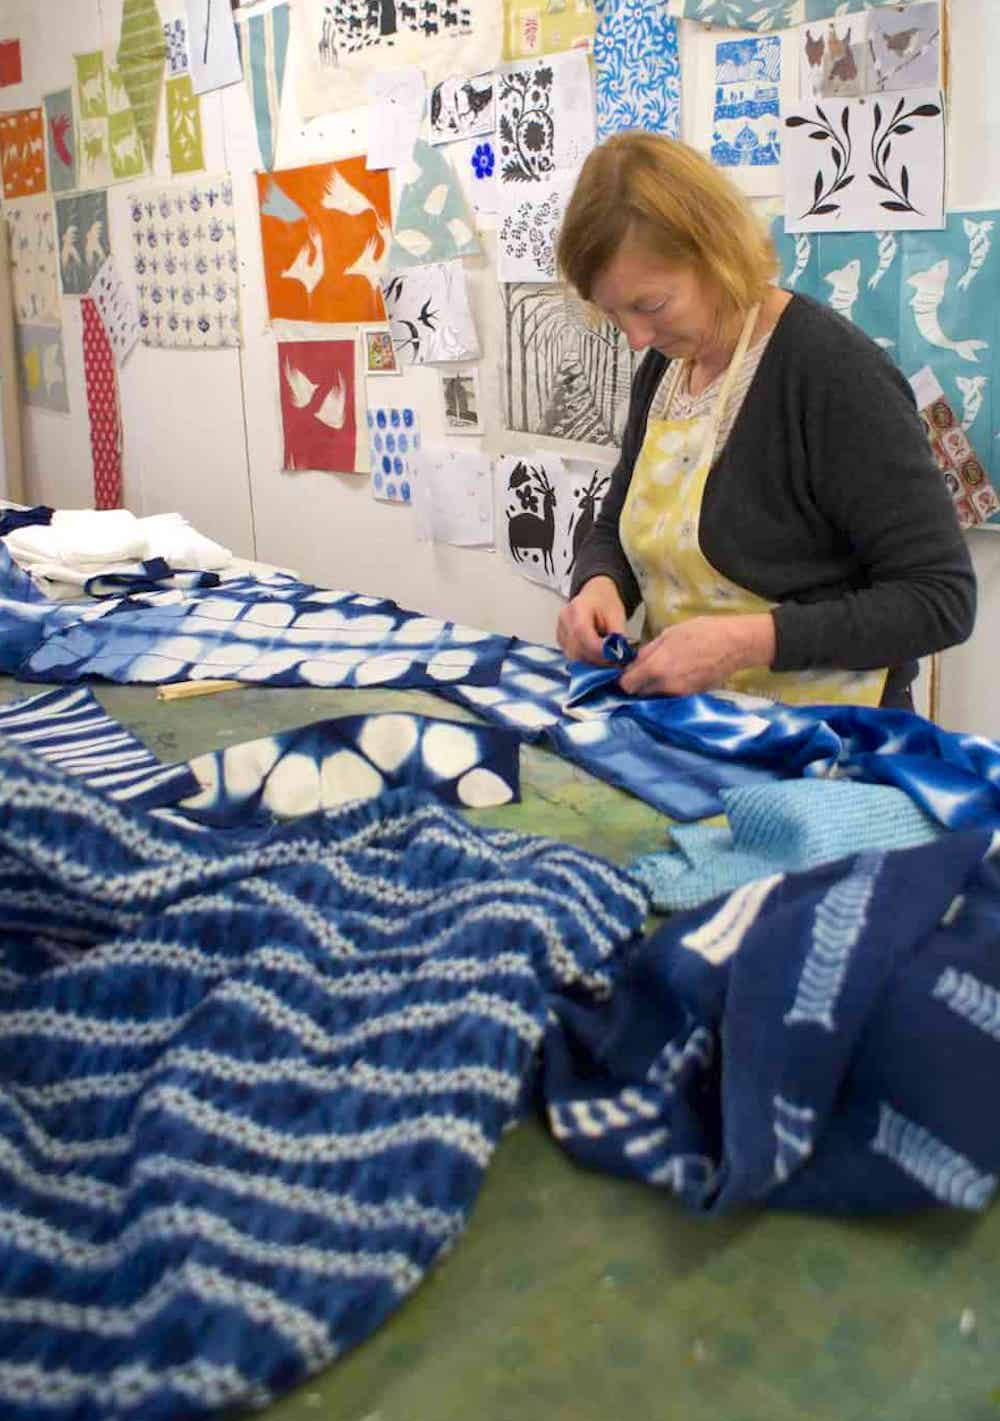
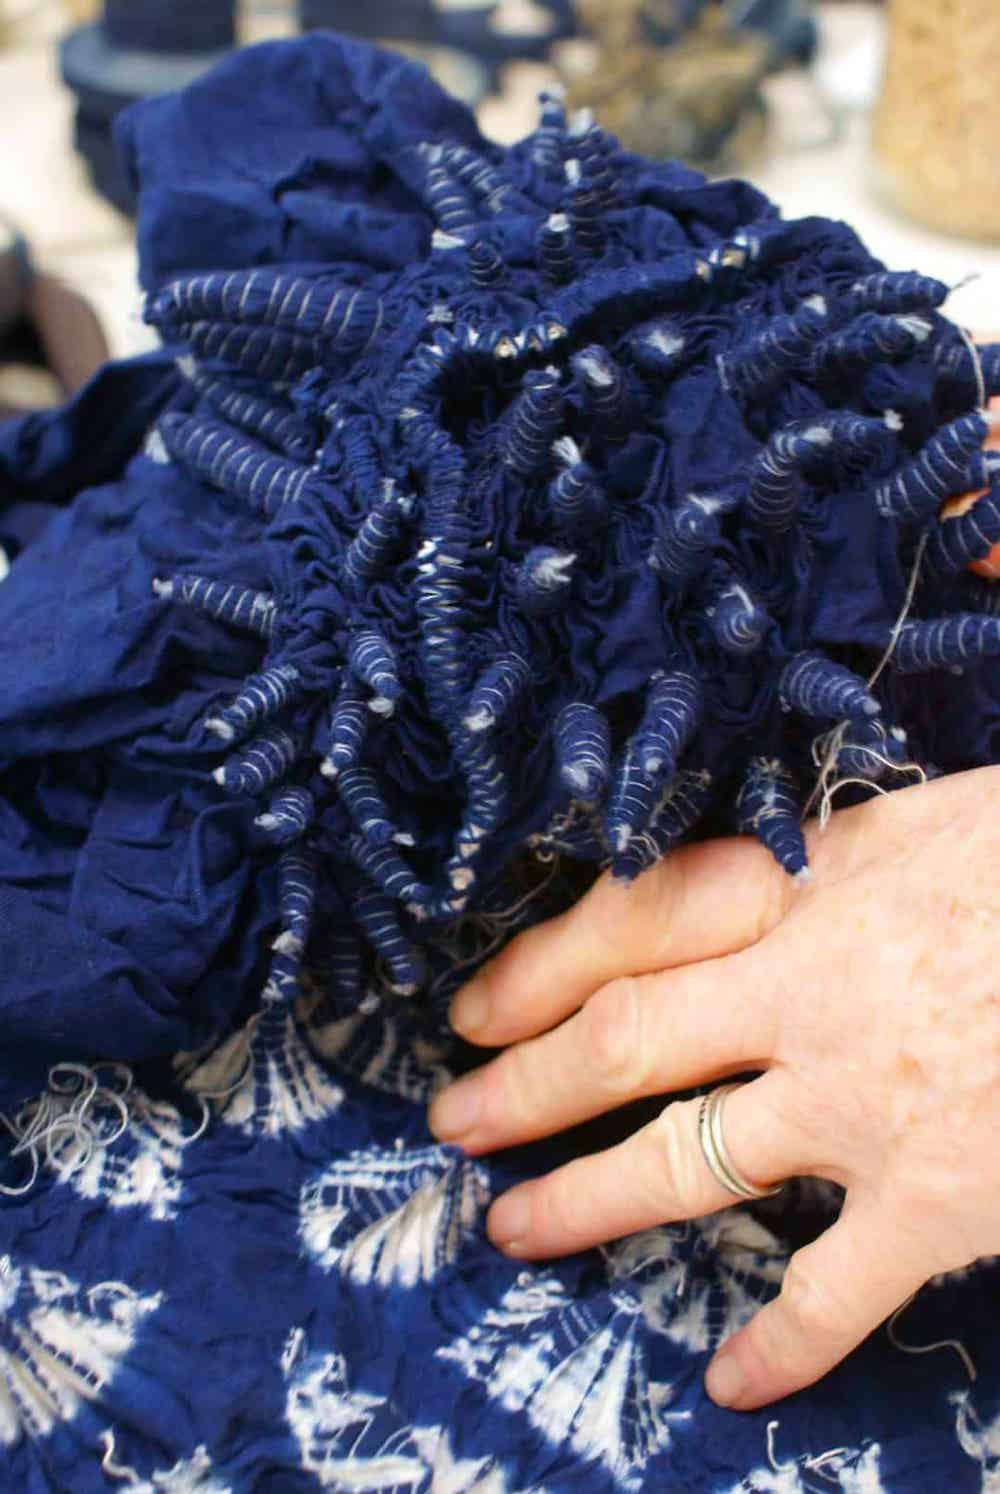
I love this example Vanessa showed me of a length of partially still-bound shibori fabric she’d bought in China. We marvelled at how much work it would have been to bind up so many sections by hand (it was a sizeable length of fabric). And I really enjoyed watching her open up a few more of the sections to reveal the pattern created. There’s definitely something thrilling about this particular method of pattern creation.
Resistance Tools & Pattern Effects Quick Reference
| Resistance Tool | Technique | Pattern Created |
| Beads/Buttons | Tie string around in concentric circles | Radiating rings (bullseye) |
| Plastic Clamps | Accordion fold with clamped shapes | Geometric repeating designs |
| Running Stitch | Stitch lines then pull thread tight | Crisp linear stripes |
| Rubber Bands | Bind sections at intervals | Sunburst/circular patterns |
| No Tool (Scrunch) | Crumple fabric randomly | Marbled/organic effect |
The Hidden Science Behind Why Your Tie-Dye Colours Fade (And How to Stop It)
Most tie-dye tutorials skip over the chemistry that makes or breaks your project. Understanding the molecular bonding process transforms your results from disappointing to permanent.
Why Fibre-Reactive Dyes Actually Work:
• The dye molecules form covalent bonds with cellulose fibres
• This chemical reaction only happens in alkaline conditions (hence the soda ash)
• Temperature matters: cold water prevents premature bonding before pattern is set
• The 8-24 hour curing time allows complete molecular bonding
The Soda Ash Secret:
Standard ratio: 1 cup sodium carbonate per 1 gallon water
Soak time needed: minimum 15 minutes for fibre penetration
Result: raises pH to 10.5-11 (optimal for dye bonding)
The Rinsing Mistake Everyone Makes:
Rushing the rinse = colour bleeding into white areas
Cold water rinse keeps dye molecules stable
Vinegar soak (50/50 with water) after rinsing locks in colour by neutralising excess alkali
Fabric Matters More Than You Think:
Natural fibres (cotton, linen, hemp) = permanent results
Synthetic blends = disappointing colour that washes out
Pre-washed fabric without conditioner = better dye absorption.
Traditional Shibori Binding Patterns You Can Master in Minutes
Ancient Japanese artisans spent years perfecting shibori techniques, but three core patterns give you professional-looking results on your first attempt.
The Kanoko Shibori (Bound Resist) Speed Method:
• Pinch small sections of fabric
• Bind tightly with thread or string 5-7 wraps
• Space sections 2-3 inches apart for optimal pattern
• Creates organic, spotted effect similar to fawn markings
• Traditional method: hand-tied (as shown in Chinese fabric example)
The Itajime Shibori (Shape Resist) Shortcut:
• Cut shapes from plastic margarine tubs (free resist tools)
• Concertina fold fabric into accordion pleats
• Clamp shapes on both sides
• Result: geometric repeating patterns
• Outer folds = darkest, inner folds = palest
The Nui Shibori (Stitch Resist) For Line Patterns:
• Running stitch along desired line placement
• Pull thread tight to gather fabric
• Creates crisp linear designs
• Multiple parallel lines = striped effects
Why Shibori Works Better Than Western Tie-Dye:
Precision: controlled pattern placement vs random results
Layering: multiple resist methods on one piece
Depth: graduated colour intensity through fold layers
Tie dye kits
A tie-dye kit can be a great way to get started and Etsy has lots of ideas.
This is a cute indigo tie dye kit: https://amzn.to/4dLuGiw
What is ice dye?
Ice dyeing is sprinkling dry dye powder onto (or under) ice cubes, letting the cubes melt while pulling colours down onto the fabric you’re dyeing. This Youtube tutorial is great to take you through the steps to having a go at ice dyeing yourself.
Most popular tie-dye patterns
Scrunch patterns
Scrunch technique (sometimes also called crumple technique) – is a really fun and free way to create pattern. The idea is that you literally scrunch up fabric to create an almost marbled effect and either secure with bands/string/stitches or leave unsecured for a looser pattern. Start, as with all tie dye projects with a light or white cotton or natural fibre garment or item. Wash and leave damp (don’t use fabric conditioner) and then scrunch away to create a mound ready for adding dye or dyes. Add your dye (Tulip Dyes (this is a great starter kit from Amazon: https://amzn.to/3VZe1RH already contain soda ash so you don’t need to pre-soak and can add directly to your fabric). A good way to do this is to put your scrunched item over a clean cooling rack, and apply the dye colour or colours to sections as you turn over the item. Place in a plastic bag overnight before rinsing in cold water. then washing in line with your dye instructions.
How to create a spiral pattern.
This is one of the easiest tie dye patterns to do and great fun. Lay your garment flat and then pinch where you’d like the spiral centre to be. Then start turning and twirling the fabric around and around until the whole thing is twisted into a spiral shape. Secure with plastic bands and apply your dye.
There are lots of different ways to get great results when it comes to pattern. My best advice would be to just have fun and experiment. Just remember it’s all about providing resistance to the dye to create a pattern.
Sunburst design
This is one of the most popular tie dye patterns. Similar to the spiral technique above (but without the swirling). Pinch the fabric where you’d like the centre of the sunburst to be and pull up an inch or two before securing with rubber band. Repeat for as many sunbursts as you’d like. Lay your garment flat, with the tied fabric lumps you’ve created sitting proud. apply your dye to the fabric tips. Apply a different colour dye to the rest of the tee shirt. Then follow setting/rinsing instructions for the particular dye you’re using.
Folding technique
An accordion fold (which is exactly what it sounds like) is where you fold the fabric into even pleats and either secure with stitches, rubber bands applied at intervals, or with clamps. This will create vertical stripes if you fold left to right of your fabric item.
How to get horizontal stripes
Obviously just use the same technique folding from top to bottom to create horizontal stripes.
Bullseye tie dye patterns – how to get the look
This is another super easy pattern to create. Simply lay your newly washed garment flat (still damp but as before, don’t use fabric conditioner). Pinch where you’d like the centre of the bullseye to be. Continue to pinch and pull the fabric up from this point into a cone shape and secure with elastic bands where you’d like to create radiating rings.
Shibori-inspired designs
As mentioned above, I spent an inspiring day with Flora Arbuthnott learning all about indigo dye and how to achieve Shibori-inspired patterns. Read my post here:
WHY PROCION?
Procion MX dyes are fibre-reactive cold water dyes. They are fixed chemically instead of with heat. They are perfect for tie-dye, batik, shibori, ice dyeing, bucket and low water immersion dyeing, printing, direct painting and other dye applications.
The Procion shades are all intermix-able, permanent & colourfast dye powder. The range produces intense, vibrant results. The dye and soda-ash is vegan and not tested on animals. The dye is also soil friendly and easily broken down by soil microbes easily.
Jacquard sells a wide range of procion dyes in lots of different colours – including this popular kit: https://amzn.to/3QN7uqv
Basics of tie-dye and essential tips for best results
You will need
- Cold water dye.
- It’s best not to use all-purpose dye for tie dying because it will run and fade more than a fibre-reactive dye such as Procion or Tulip dyes.
- Fibre-reactive dyes are low-impact synthetic dyes that directly bond with the garment fibres rather than merely remaining as an independent chemical entity within the fibre.
- One of their benefits is that they contain no heavy metals or other known toxic substances, and do not need mordants.
- Soda ash (or sodium carbonate) – used as a fixative and brightener for dyes on natural fabrics such as linen, cotton or hemp.
- To use soda ash to brighten your next tie-dye project, try dissolving a cup of sodium carbonate in a gallon of water, and soak your cotton/linen/hemp items for 15 minutes or so, to make sure the solution has penetrated the fibres. Wring out the excess water, then apply the fibre-reactive dye to the damp fabric.
- Items suitable for tie dye projects eg cotton tee shirts (go for white or light colours in natural fibres)
- tote bags – again go for natural or pale cotton
- cotton shirts (a white shirt is a good bet)
- Rubber bands
- Other useful equipment:
- plastic bag or plastic wrap
- tongs
- rubber gloves
- covering for your work surface (eg old oilcloth or newspaper)
- clothes line/drying rack
The soak
This is where your dye will set and is usually done inside plastic bags or wrapped in plastic wrap to keep the dye moist. Check your particular dye instructions but this part of the process normally takes between 8 -24 hours. The longer you leave the garment to soak, the more intense your colours will be.
Rinsing your tie dye garments
Follow your specific dye’s instructions, but in general terms, it’s best to rinse your tie dye garments under cold water, with all bands/string etc still in place until the water runs clear. This can take quite some time, but it’s important not to cut corners here.
Once the water is running clear, remove the bands/string. Continue to rinse in cold water until water runs clear again.
How to wash tie-dyed garments
It’s important to wash your tie dyed garments straight after rinsing to stop colours bleeding into the white areas. A popular tip to increase colour fastness: Soak your garments in equal parts white vinegar and water for 30 minutes after rinsing and before first wash.
Check the specific instructions for the particular dye you are using. But in general, cold water is the key to successful tie dye washing.
Fill a large basin with cold water and add mild detergent once the basin is full.
Gently wash your garment in the solution.
Drain, refill and repeat until the water runs clear.
You can wash in your washing machine on a cold/gentle cycle. Keep separate from other colours for the first few washes.
5 key things to remember
#1 Resistance is the fundamental principle behind all tie-dye patterns created by keeping fabric areas away from dye using ties, clamps, stitches, or folds to preserve white or pale sections.
#2 Fibre-reactive dyes require soda ash and extended curing time because they bond chemically with natural fibres rather than simply coating them, producing permanent colourfast results that don’t fade.
#3 Shibori techniques offer more control than traditional Western tie-dye through specific Japanese binding methods that create precise geometric and organic patterns with graduated colour intensity.
#4 The rinsing process determines pattern clarity because removing bands whilst rinsing under cold water until clear prevents dye bleeding into white areas, followed by immediate washing to stop colour migration.
#5 Natural fibre fabric selection is critical for permanent results as cotton, linen, and hemp bond with fibre-reactive dyes, whilst synthetic blends produce colours that wash out regardless of dyeing technique.
I hope you’ve enjoyed discovering these easy tie dye patterns, shibori techniques and ideas. For more creative ideas, browse the MAKE section of my blog
You might also like
Duck crochet pattern ideas: 10 free amigurumi patterns
15 free Crochet blanket pattern ideas: all super easy
How to make a hand tied bouquet with Philippa Craddock



Leave a Reply